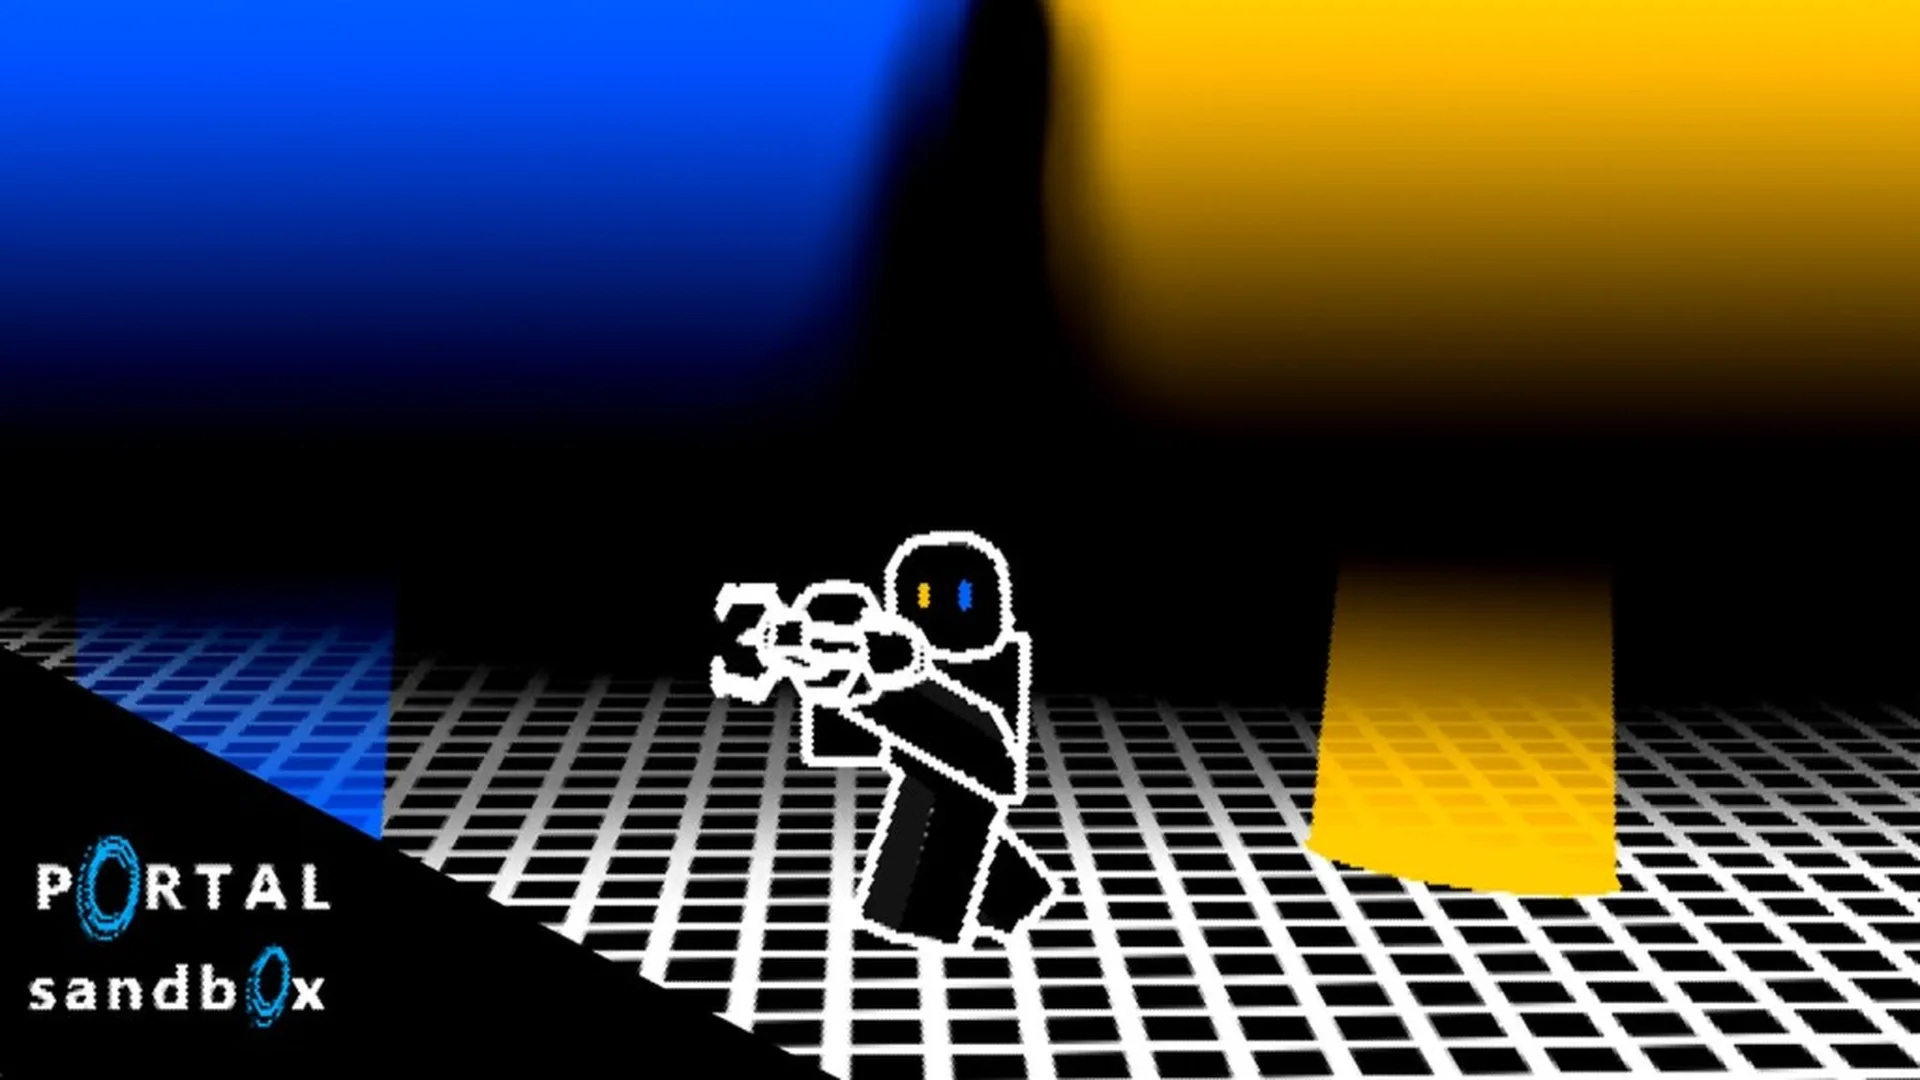
- Portal Sandbox working portal setups begin with two compatible surfaces and the portal gun.
- Start simple by placing portals on nearby floor or wall surfaces you can clearly observe.
- Test the connection by walking through one portal and checking the exit position and direction.
- Fix failed placements by moving closer, choosing a flatter surface, or replacing one portal.
- Build gradually with floor-to-wall routes before testing objects, height changes, or looping layouts.
Portal Sandbox Working Portal Basics
Portal Sandbox working portal setups are built around a simple experimental loop: equip the portal gun, place one portal, place the second portal, and test the connection. The game is designed for open-ended sandbox experimentation rather than a fixed campaign route, so the most reliable way to learn is to change one variable at a time.
Begin in a clear area with nearby surfaces. A floor-and-wall arrangement is easier to read than a complicated build because you can immediately see where each portal is located and whether the connection behaves as expected.
The official Portal Sandbox Roblox experience is the best place to check the current live version, available tools, and any changes to the experience.
| Setup Element | Recommended Starting Choice | Why It Helps |
|---|---|---|
| Portal tool | Portal gun | Required for placing and replacing portals |
| First surface | Nearby flat floor or wall | Makes aiming and testing easier |
| Second surface | Visible compatible surface | Creates a connection you can inspect |
| Test route | Short walking distance | Reduces confusion during the first test |
| Reset method | Replace one portal | Lets you adjust the route quickly |
Use a short floor-to-wall connection first. It gives you a clear entry point, a visible exit, and enough space to observe how position and direction change after travel.
Simple Traversal
Place one portal on the floor and the other on a nearby wall. Walk through the opening and compare your entry and exit orientation.
Object Route
Position a movable object near one portal, then observe how it behaves when moved toward the connected opening.
Creative Course
Use recognizable landmarks to create a short checkpoint route through the sandbox.
The goal is not to create the most complicated layout immediately. A reliable working portal is more useful than a large arrangement that is difficult to troubleshoot.
Step-by-Step Portal Placement
Follow this process whenever you want to create a stable working portal connection. The exact input presentation can vary by device, but the core sequence remains the same: aim, place, connect, test, and adjust.
Enter the Sandbox and Equip the Portal Gun
Load into Portal Sandbox and locate the portal gun among your available tools. Equip it before attempting to place a portal. Make sure the camera is pointed toward a surface that is close enough to inspect.
Choose a Compatible Surface
Start with a visible, sufficiently flat floor or wall. Avoid irregular surfaces during your first attempt because they can make placement harder to read or may not support the intended portal layout.
Place the First Portal
Aim at the selected surface and use the available portal placement input. Keep the first portal near your starting position so you can reach it without crossing a complicated route.
Place the Second Portal
Aim at another compatible surface and place the second portal. Choose a location that makes the connection easy to walk through and inspect, such as a nearby wall or elevated floor section.
Walk Through and Adjust
Move toward one portal and pass through the opening. Check the exit position, direction, and movement behavior. If the route is awkward, replace one portal rather than rebuilding the entire setup.
| Step | Player Action | Success Check |
|---|---|---|
| 1 | Equip the portal gun | The tool is ready for aiming |
| 2 | Aim at a flat surface | The target is visible and suitable |
| 3 | Place the first portal | An entry point appears |
| 4 | Place the second portal | Two locations are connected |
| 5 | Enter the portal | You can observe the exit behavior |
A working connection should give you an obvious route between two locations. If you cannot identify where the exit leads, replace the second portal with one placed closer to a landmark or open area.
For the first few tests, avoid adding objects, height differences, or several portal routes at once. Confirm that the basic connection works before introducing a new variable.
Controls, Surfaces, and Device Differences
Portal Sandbox uses the portal gun as its main interaction tool. On keyboard and mouse, aiming is handled through the camera and mouse, while movement controls let you approach and enter the portal. On touch devices, the same general actions are handled through on-screen movement, camera, and portal-gun controls.
Exact button labels may depend on the current Roblox client and experience interface. Treat the controls displayed in your live session as the source of truth, since Roblox updates its interface from time to time.
| Device | Main Task | Practical Advice |
|---|---|---|
| Keyboard and mouse | Aim, place, move, and test | Use close surfaces for precise placement |
| Console | Aim and move with controller inputs | Allow extra time for accurate portal alignment |
| Mobile | Aim and place through touch controls | Keep the camera close to the target surface |
| All devices | Replace a portal | Reposition one portal to refine the route |
Portal Sandbox controls may change with the experience or Roblox client. Follow the active on-screen prompts, especially when switching between keyboard, controller, and touch input.
Surface selection matters more than speed. Use these placement habits:
- Keep the target surface visible before activating the placement input.
- Start with flat floor and wall sections.
- Stand close enough to inspect the portal without losing the target.
- Leave open space around the exit so movement is easy to observe.
- Use landmarks, corners, or objects to remember each portal location.
- Replace one portal at a time when refining a route.
A portal can appear to be placed correctly while still producing a poor test route. If the exit is too close to an obstacle or points toward an unclear area, the connection may be functional but difficult to evaluate.
Working Portal Troubleshooting and Experiments
When a portal setup does not behave as expected, isolate the problem instead of changing every part of the build. First check the surface, then the portal position, then the approach route. This method makes it easier to determine whether the issue comes from placement, movement, or the layout itself.
| Problem | Likely Cause | Recommended Fix |
|---|---|---|
| Portal does not appear | Surface may be unsuitable or difficult to target | Move closer and aim at a flatter visible section |
| Exit is hard to find | Portal is placed near an obstacle or unclear landmark | Replace it in an open, recognizable area |
| Route feels awkward | Entry and exit angles do not support the intended movement | Change the exit surface or approach direction |
| Object route is inconsistent | Object position or portal orientation changed | Repeat the setup with one variable unchanged |
| Complex layout is confusing | Too many portals or test conditions were added at once | Reset to one simple portal pair |
Working Portal Test Checklist:
- Equip the portal gun before aiming
- Choose two visible compatible surfaces
- Place the first portal near the starting area
- Place the second portal near an open landmark
- Walk through and record the exit behavior
After the basic route works, try controlled experiments:
- Floor-to-wall route: Compare a horizontal entry with a vertical exit.
- Portal checkpoint course: Create several short sections and use landmarks as checkpoints.
- Object delivery lane: Move an interactable object through the connection toward a marked destination.
- Height test: Compare a lower entry with an elevated exit and observe the resulting movement.
- Route loop: Arrange connected locations around a small area and test whether the path returns toward the starting zone.
For repeatable experiments, keep the portal pair fixed while changing only the object position, exit height, approach speed, or camera angle. This produces clearer comparisons than rebuilding the entire scene each time.
Private servers can also help when you want an uninterrupted testing space. They are useful for solo experiments, friends-only collaboration, creative construction, and repeated portal demonstrations without unrelated activity changing the setup. Check the experience’s private server page for the options available in the current version.
Portal Sandbox Working Portal FAQ
A dependable portal setup comes from observation and controlled adjustments. These answers cover the most common questions about creating and testing one.
Q: What is the easiest Portal Sandbox working portal setup?
Start with one portal on a nearby floor section and the second on a visible wall. This floor-to-wall route is simple to enter, easy to observe, and useful for learning how exit position and direction affect movement.
Q: Why will my portal not place?
The surface may be unsuitable, too irregular, or difficult to target from your current position. Move closer, aim at a flatter visible area, and use the active portal-gun controls shown in your session.
Q: How do I fix a portal that leads to a bad location?
Replace one portal rather than rebuilding the entire setup. Move the exit to an open area near a recognizable landmark, then walk through the connection again.
Q: Can I test objects with a working portal?
Yes. Once the basic player route works, position a movable or interactable object near the entry portal and observe its transfer toward the destination. Repeat the test while changing only one condition.
Portal Sandbox is an evolving Roblox experience. Check the official game page on October 26, 2026, for the live tool presentation, available features, and any updated control information before documenting a new setup.
For additional testing, use a private session when available, record the starting arrangement, and keep notes about portal position, surface type, object placement, and exit direction. That makes successful layouts easier to reproduce and share with friends.