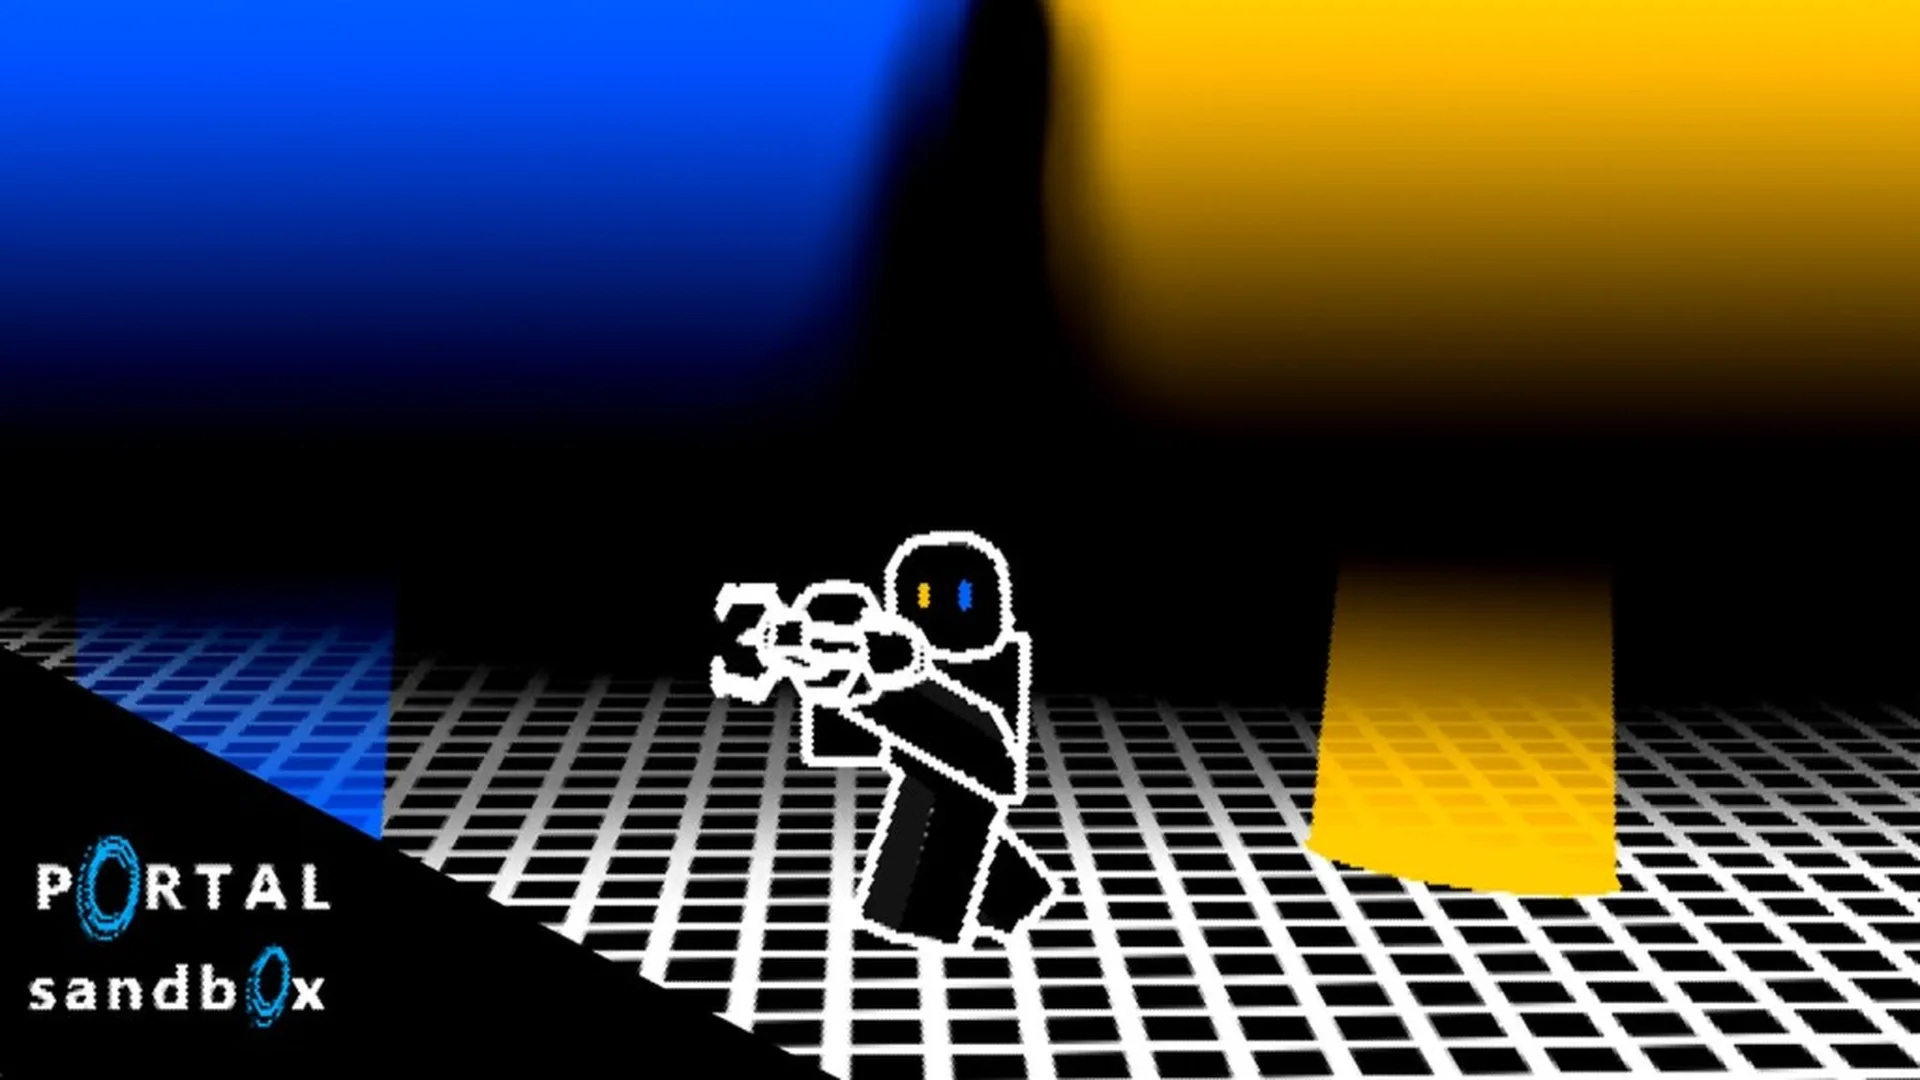
- Portal Sandbox challenges focus on movement, object routes, building, and repeatable experiments.
- Start simple by connecting two nearby surfaces before attempting advanced portal layouts.
- Use checkpoints to measure landing positions, travel routes, and object behavior.
- Private sessions are useful when you need an undisturbed space for testing.
- Reset often after changing one variable so you can compare results clearly.
Portal Sandbox challenges: Core Challenge Types
Portal Sandbox challenges work best when they give you a clear objective without removing the freedom of the sandbox. Instead of following one fixed campaign route, create a small setup, define a success condition, and change only one part of the layout at a time.
The most reliable starting point is a two-portal route. Place one portal on a nearby floor or wall surface, place the second on another compatible surface, and walk through the connection. Once the basic route feels predictable, add height differences, landmarks, objects, or movement restrictions.
| Challenge Type | Main Objective | Recommended Difficulty | Best Starting Setup |
|---|---|---|---|
| Traversal route | Reach a target area through connected portals | Easy | Floor-to-wall portal pair |
| Checkpoint course | Pass several landmarks in a planned order | Medium | Two or more short portal sections |
| Object delivery | Move an interactable object to a destination | Medium | Entry portal beside the object |
| Launch and landing | Reach a selected landing area consistently | Advanced | Lower entry and elevated exit |
| Observation loop | Build a repeating route for movement testing | Advanced | Several connected surfaces |
Traversal Challenges
- Build a short route between recognizable landmarks.
- Test whether the exit position changes your movement.
- Add distance only after the first connection is stable.
Physics Challenges
- Move an object through a portal connection.
- Compare different exit orientations.
- Record where the object appears after transfer.
Creative Challenges
- Design obstacle routes or demonstration rooms.
- Use visual markers as checkpoints.
- Invite friends to test the same layout.
A good challenge has one measurable goal. “Reach the blue marker without replacing the portals” is easier to test than “make an impressive portal room.”
Step-by-Step Portal Challenge Setup
Before attempting a difficult route, prepare a small testing area. Flat, visible surfaces make portal placement easier to inspect, while nearby landmarks help you judge whether a route is improving or becoming less consistent.
Choose a clear objective
Decide what the challenge measures: travel time, landing position, object delivery, route length, or the number of portal replacements required. Keep the first objective narrow.
Mark the starting area
Select a recognizable starting point and a target landmark. A wall edge, floor pattern, raised platform, or nearby structure can serve as a simple visual checkpoint.
Place the first portal
Equip the portal gun and aim at a visible, compatible surface. Start close to the target area so you can understand the connection before adding distance or height.
Place the second portal
Choose another suitable surface that creates an easy-to-observe exit. Avoid changing several placement conditions at once during your first test.
Test, reset, and compare
Walk through the route, inspect the result, and replace one portal if the setup needs adjustment. Compare the new outcome with the previous attempt before adding another variable.
| Setup Element | Simple Choice | Advanced Choice | Why It Matters |
|---|---|---|---|
| Starting point | Nearby floor marker | Elevated or offset entry | Establishes a consistent reference |
| Exit surface | Close wall | Distant or raised surface | Changes route length and movement |
| Target | Visible landmark | Small landing zone | Makes success easier to measure |
| Variable | Portal position | Height, angle, or approach speed | Supports controlled comparisons |
| Reset method | Replace one portal | Rebuild a complete route | Prevents confusing test results |
Recommended first challenge:
- Place one portal near the starting area.
- Place the second portal beside a visible landmark.
- Walk through the route without replacing either portal.
- Repeat the attempt from the same starting position.
- Move only the exit portal and compare the result.
Do not change the portal positions, camera angle, movement direction, and object placement at the same time. If the result changes, you will not know which adjustment caused it.
Best Building and Physics Challenges
The strongest Portal Sandbox challenges combine a clear build with a repeatable test. A small route is often more useful than a large structure because you can identify what each portal does and reproduce the result after a reset.
Building Challenge Ideas
| Build Idea | Setup | Success Condition | Suggested Variation |
|---|---|---|---|
| Floor-to-wall route | Connect a floor surface to a nearby wall | Complete the route without replacing portals | Raise the exit position |
| Checkpoint course | Link several recognizable areas | Reach every checkpoint in order | Add a portal replacement limit |
| Object delivery lane | Connect an object area to a destination | Move the object to the marked zone | Change the exit orientation |
| Looping chamber | Arrange connected viewpoints | Complete a repeating circulation route | Move one exit and compare |
| Friends-only puzzle | Build a route for selected players | Another player completes the course | Hide the best portal position |
Physics Experiment Procedure
Start with an object transfer test. Place an entry portal near a movable or interactable object and position the exit portal in a clearly marked destination area. Push or guide the object toward the entry, then inspect where it appears relative to the exit.
Next, repeat the test after changing one condition:
- Move the exit portal to a different surface.
- Change the exit height.
- Adjust the object’s approach direction.
- Use a second route with a different destination.
- Compare the object’s final position after each attempt.
| Experiment | Required Items | Main Variable | Result to Observe |
|---|---|---|---|
| Object transfer | Portal gun, two surfaces, movable object | Exit orientation | Object position after transfer |
| Route loop | Portal gun, three surfaces, observation area | Portal connection order | Whether the path returns to the starting zone |
| Height test | Lower surface, elevated surface, landing area | Exit height | Movement direction and landing point |
| Route comparison | Several surfaces, two destinations | Portal replacement | Travel path and exit placement |
Beginner Trial
Two-Portal Walk: connect nearby surfaces and complete five uninterrupted trips through the route.
Intermediate Trial
Delivery Lane: move an object from its starting area to a marked destination without rebuilding the entire setup.
Advanced Trial
Landing Challenge: use height and approach direction to reach a selected landing area consistently.
A successful experiment should be possible to repeat from the same starting position. If the result changes widely, simplify the layout before adding another portal or object.
Controls, Devices, and Private Challenge Sessions
Portal placement is easier when you can keep the target surface visible and make small aiming adjustments. PC play generally offers the most precise mouse aiming for complex builds, while touch devices are practical for shorter experiments and basic route testing. Console play can work well when controller aiming feels comfortable for the selected layout.
| Device | Strengths | Challenge Fit | Main Consideration |
|---|---|---|---|
| PC | Precise aiming, keyboard movement, larger display options | Complex routes and physics tests | Performance depends on hardware and connection |
| Console | Comfortable controller movement and large-screen play | Cooperative routes and casual building | Precise placement may require practice |
| Mobile | Portable access and quick sessions | Basic traversal and simple layouts | Smaller screen and touch controls can limit accuracy |
Private servers are useful when you need a focused testing space. They can support solo experiments, friends-only collaboration, creative construction, and repeated challenge attempts without unrelated player activity changing the scene.
Private Session Formats
- Solo laboratory: Build one route and test a single variable repeatedly.
- Cooperative course: Ask friends to complete a route without receiving the solution.
- Builder versus tester: One player creates the setup while another identifies the intended route.
- Timed practice: Set a personal time target, then improve the route by changing one portal.
- Demonstration room: Arrange multiple small experiments so each one has its own checkpoint.
Use the official Portal Sandbox Roblox page to open the current experience and check the live play entry. Server availability and platform behavior can change, so verify the current options before planning a large group session.
Challenge Preparation Checklist:
- Choose one measurable objective
- Mark a starting point and target area
- Confirm both portal surfaces are easy to inspect
- Record the result before changing the layout
- Use a private session for repeatable group testing
For a group challenge, explain the success condition before players enter the route. Clear rules prevent accidental portal replacements from changing the intended test.
Challenge Progression and FAQ
Use a gradual progression so each challenge teaches a useful skill. Early tasks should focus on placement and movement. Later tasks can combine height, objects, multiple destinations, and cooperative rules.
| Tier | Challenge Goal | Skills Practiced | Suggested Completion Rule |
|---|---|---|---|
| Tier 1 | Walk through a basic portal pair | Placement and entry movement | Complete five clean trips |
| Tier 2 | Reach a marked checkpoint | Route planning and exit reading | Finish without replacing portals |
| Tier 3 | Deliver an object | Object positioning and observation | Place the object inside the target area |
| Tier 4 | Complete a height test | Approach control and landing judgment | Reach the landing zone repeatedly |
| Tier 5 | Build a cooperative course | Design, communication, and testing | Another player completes the route |
Recommended Milestones
- Create and test a stable two-portal connection.
- Complete a floor-to-wall traversal route.
- Build a checkpoint course with at least two target areas.
- Transfer an object through a planned portal route.
- Compare two layouts by changing only one portal.
- Design a challenge another player can understand without direct guidance.
Q: What are Portal Sandbox challenges?
They are player-created objectives built around portal placement, movement routes, object transfer, building, and physics testing. The best challenges have a clear goal and a repeatable success condition.
Q: What is the easiest challenge for a new player?
Start with a two-portal traversal route. Place one portal on a nearby floor or wall surface, place the second near a visible landmark, and walk through the connection several times.
Q: How can I make a portal challenge harder?
Add a target landing area, increase the distance between surfaces, introduce an object, limit portal replacements, or require another player to complete the route without seeing the setup process.
Q: Are private servers useful for challenge testing?
Yes. A private session can reduce interruptions and make solo experiments, cooperative courses, creative builds, and repeated physics tests easier to manage.
Build small, measure clearly, and change one condition at a time. That approach turns Portal Sandbox experimentation into challenges you can repeat, improve, and share.