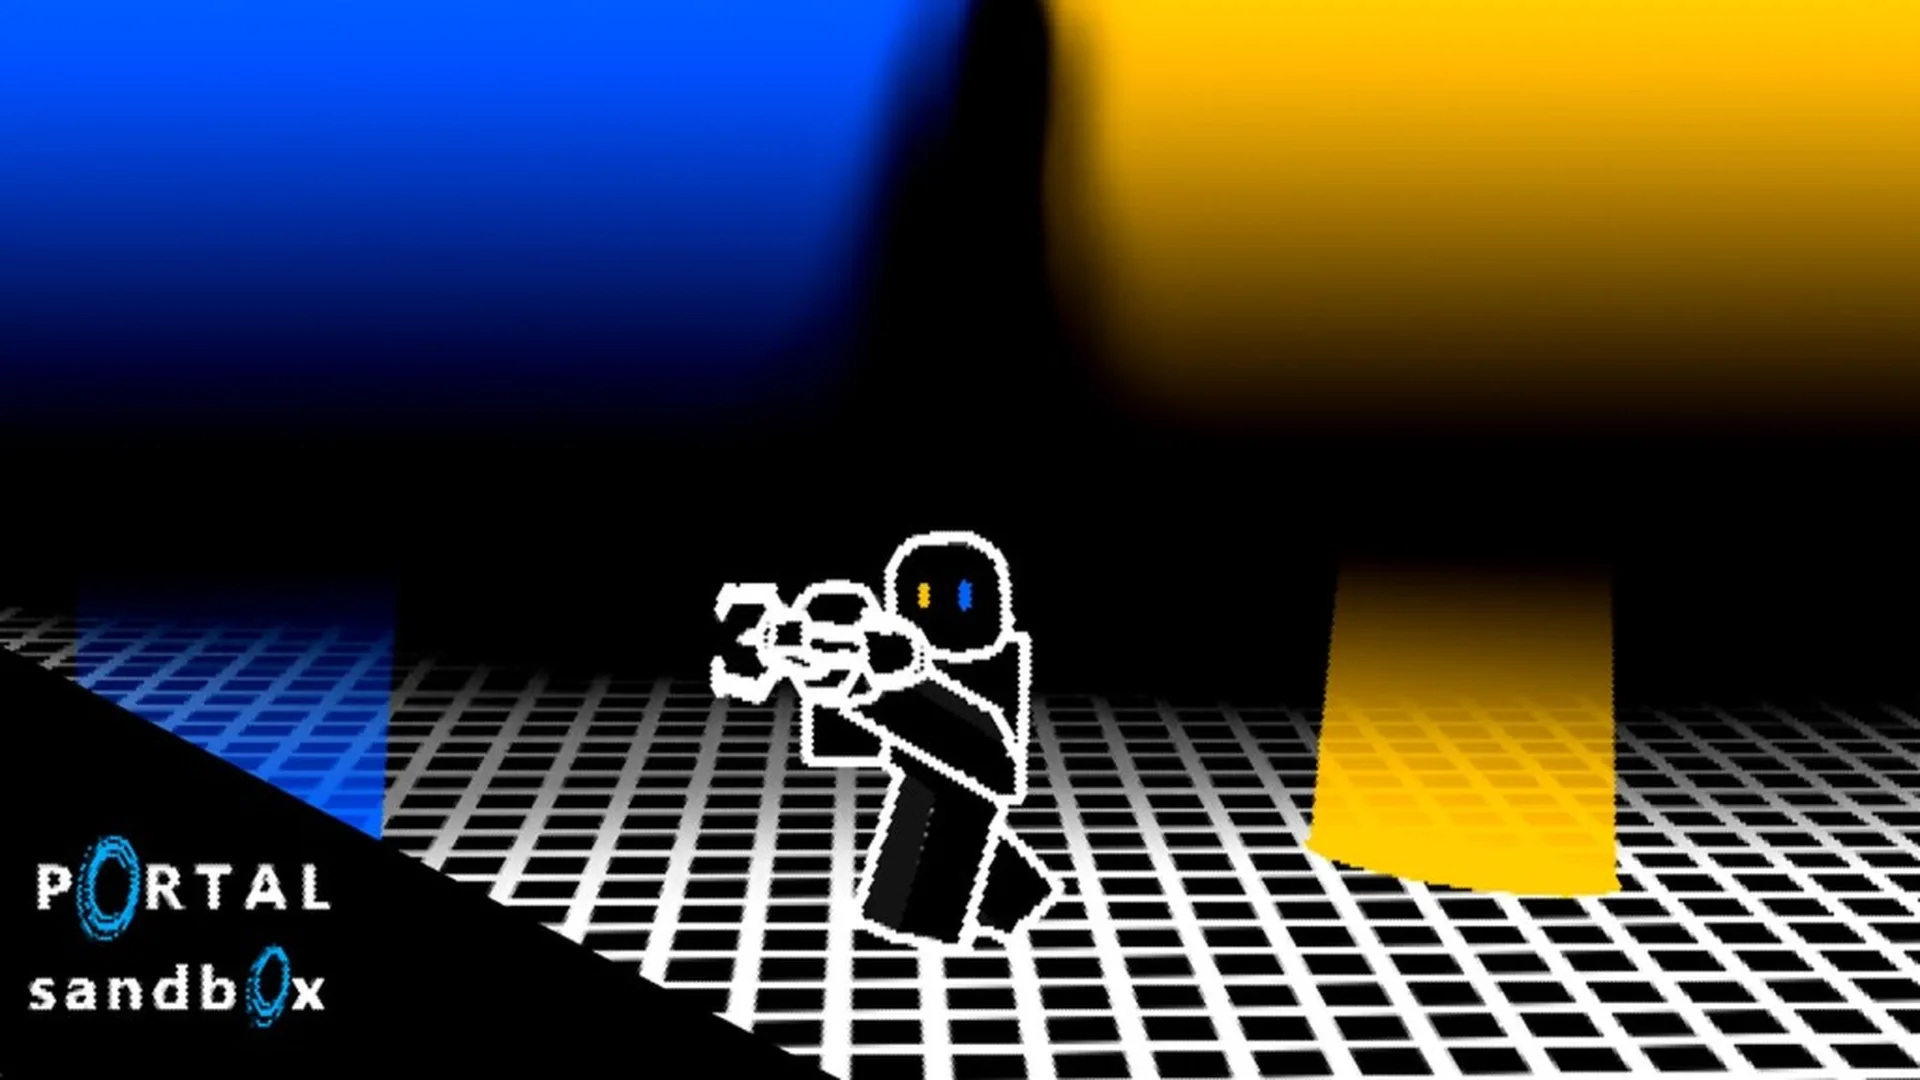
- Portal Sandbox portal mechanics center on placing connected portals and testing movement.
- Start with flat surfaces so portal placement and exit positions are easy to observe.
- Use small experiments before building complex routes, loops, or object-transfer setups.
- Replace one portal at a time to understand which change affected the result.
- Private sessions help when you need an uninterrupted testing space.
Portal Sandbox Portal Mechanics Explained
Portal Sandbox portal mechanics are built around open-ended experimentation rather than a fixed campaign route. The core loop is simple: equip the portal gun, place two connected portals, move through the connection, and adjust the layout to study how surfaces, angles, height, and movement affect the result.
The most reliable way to learn is to change one variable at a time. Begin with nearby floor and wall surfaces, then expand into elevated exits, object routes, looping paths, and cooperative builds. The official Portal Sandbox Roblox experience is the best place to verify the live control layout and current feature set.
| Mechanic | What It Does | Best Starting Test |
|---|---|---|
| Portal placement | Connects two compatible surfaces | Place one portal on a floor and one on a nearby wall |
| Portal travel | Moves the player between connected openings | Walk through slowly and observe the exit direction |
| Surface selection | Determines where a portal can attach | Use flat, visible surfaces first |
| Portal replacement | Changes an existing route without rebuilding it | Move only the exit portal |
| Physics interaction | Redirects objects or movement through portals | Push one movable object toward an entry portal |
Placement
Aim at a suitable surface and create a stable portal opening. Flat areas are easier to read and reproduce.
Connection
Pair the two portal types to create a route between separate points in the sandbox.
Movement
Enter a portal at different angles and speeds to compare the resulting exit position.
Experimentation
Replace one portal, repeat the test, and record how the route changes.
Treat every portal layout as a small experiment. A simple setup with a clear starting point and destination produces more useful results than a large scene with several untracked changes.
Step-by-Step Portal Setup
Use this five-step process whenever you are learning a new portal arrangement. It works for basic travel tests, building challenges, and early physics experiments.
Enter the sandbox and equip the portal gun
Load into Portal Sandbox and locate the portal gun among your available tools. Equip it before attempting to place a portal. Starting with the main interaction tool keeps the first test focused on placement rather than navigation.
Choose a compatible surface
Aim at a nearby, visible, and sufficiently flat surface. A floor or wall close to the starting point is ideal because you can immediately inspect the opening and correct the layout if needed.
Place the first portal
Use the available portal placement input to create the first opening. Confirm that it remains attached to the intended surface before moving to a second location.
Place the second portal
Aim at another compatible surface and place the second portal. Select a destination that is easy to reach and visually distinct from the entry point.
Walk through, observe, and reset
Move toward the first portal and pass through it. Check the exit position, orientation, and movement continuation. If the result is unclear, replace one portal and repeat the test instead of changing the entire setup.
| Setup Stage | Recommended Action | Common Mistake |
|---|---|---|
| Tool selection | Equip the portal gun before aiming | Attempting placement without the correct tool |
| First surface | Use a nearby flat floor or wall | Starting with an irregular or distant surface |
| Second surface | Choose a visible destination | Placing the exit where its result is hard to inspect |
| Travel test | Walk through at a controlled pace | Changing direction while entering |
| Reset | Replace one portal and repeat | Rebuilding the whole layout without identifying the cause |
Not every surface will support the layout you want. If a portal does not attach or the route behaves unexpectedly, move closer to the surface, improve visibility, and test a simpler location before assuming the mechanic is malfunctioning.
Portal Routes and Physics Experiments
Once basic travel feels consistent, use the sandbox to test movement routes and object interactions. Portal Sandbox is most rewarding when you build repeatable setups instead of treating every attempt as a one-time trick.
A useful experiment has four parts: required objects, a clear setup, a repeatable procedure, and an expected result. Mark the starting point with a recognizable landmark, then change only the portal position, exit height, or approach speed.
| Experiment | Required Setup | Variable to Change | Observation Goal |
|---|---|---|---|
| Object transfer | Two portals and a movable object | Exit orientation | Compare where the object appears |
| Route loop | Three or more portal connections | One exit position | Test whether the path returns toward the starting area |
| Height test | Lower entry and elevated exit | Approach speed or entry angle | Compare landing direction and distance |
| Multi-route test | Several destinations | Active portal location | Compare travel paths and exit orientation |
Object Transfer Test
Place one portal near a movable or interactable object and the second portal in a clearly marked destination area. Move the object toward the entry opening and observe where it appears relative to the exit. Repeat the process after changing the exit orientation.
This test is valuable because it separates player movement from object behavior. If the object exits in an unexpected position, keep the entry portal fixed and adjust only the destination portal.
Route Loop Experiment
Use several compatible surfaces to create a sequence of connected routes around a compact area. Walk through the first connection, follow the next route, and check whether the layout returns you near the starting zone.
A looping route can be useful for visual observation, cooperative demonstrations, or obstacle-course planning. If the loop becomes difficult to understand, remove one connection and rebuild it in a smaller space.
Height and Movement Test
Create a lower entry position and an elevated exit position with enough room to observe the movement afterward. Try entering at different approach speeds and compare the landing point, direction, and continuation of movement.
The goal is not to force one specific outcome. Instead, record how changing the entry angle, exit height, or distance affects the experiment.
For consistent results, record the starting position, portal surfaces, approach direction, and destination area. Then change only one factor before repeating the test.
Controls, Devices, and Private Testing
The portal gun is the primary interaction tool, but the practical experience changes by device. Keyboard and mouse controls generally provide precise aiming, while touch and controller inputs may require more camera adjustment. Choose a device based on the complexity of the scene you want to build.
| Device | Strengths | Considerations | Recommended Use |
|---|---|---|---|
| PC | Precise aiming, keyboard movement, larger display | Hardware and connection quality affect performance | Detailed portal layouts and physics testing |
| Console | Comfortable controller movement and large-screen play | Analog aiming may need practice | Casual experiments and cooperative sessions |
| Mobile | Portable access and quick sessions | Smaller screen and touch precision can limit complex builds | Basic placement and simple route testing |
Keyboard and Mouse
Use the mouse to aim the portal gun and the available primary or secondary inputs to select the required portal type. Keyboard movement makes it easier to approach an opening at a controlled angle, especially when comparing two nearly identical layouts.
Console
Controller movement is suitable for exploring the sandbox and testing straightforward routes. For precise placement, slow the camera movement and use nearby surfaces rather than attempting a complicated long-distance setup immediately.
Mobile
Touch devices work well for short experiments and basic portal travel. Keep the camera close to the target surface when precision matters, and simplify the scene if several objects or routes become difficult to manage.
Private Servers
Private servers provide a focused space for solo experiments, friends-only collaboration, and creative construction. They can reduce interruptions from public-server activity when you need to repeat the same setup several times. Check the Portal Sandbox server page for current availability and access options.
PC is generally the most convenient option for complex portal placement, but the best device depends on your control comfort, screen size, and the complexity of the experiment.
Portal Mechanics Checklist and Practical Goals
Use this checklist to build confidence with the core system before attempting elaborate routes. The milestones focus on understanding, not speed.
Portal Mechanics Practice Goals:
- Equip the portal gun and place a portal on a nearby compatible surface
- Create a connected pair and walk through the route
- Replace one portal without rebuilding the entire setup
- Test an elevated exit and compare movement results
- Move an object through a portal connection
- Build a small route that another player can follow
Building Ideas to Try
Floor-to-Wall Route
Connect a floor portal to a nearby wall portal. Test how the exit position changes when the wall portal moves higher or farther away.
Portal Checkpoint Course
Create short traversal sections with recognizable landmarks. Challenge yourself or friends to follow the planned route without moving the portals.
Object Delivery Lane
Link a starting area to a destination and guide a movable object through the connection. Add a second route to increase the challenge.
| Goal | Completion Standard | Next Improvement |
|---|---|---|
| Basic travel | Enter one portal and exit through the other | Test a different entry angle |
| Surface control | Place portals on several suitable surfaces | Compare floor and wall layouts |
| Route planning | Reach a destination through a planned connection | Add a checkpoint or alternate route |
| Physics awareness | Transfer an object through the opening | Change the exit orientation |
| Cooperative building | Create a route another player can understand | Add clear landmarks and instructions |
Increase complexity gradually: one portal pair, then one changed variable, then a second route. This makes successful layouts easier to reproduce and failed layouts easier to diagnose.
Portal Sandbox Portal Mechanics FAQ
Q: What are the main Portal Sandbox portal mechanics?
The main mechanics are portal placement, connected portal travel, surface selection, portal replacement, and movement or object interaction through the openings.
Q: What is the best way to learn portal placement?
Start with a nearby flat floor or wall, place the first portal, add a second portal on another visible surface, and walk through slowly to inspect the connection.
Q: Why should I change only one portal at a time?
Changing one portal isolates the cause of a different result. If both portals, the approach angle, and the destination change together, it becomes harder to understand which factor affected the route.
Q: Which device is best for complex portal experiments?
PC is generally the most convenient for precise aiming and detailed layouts. Console and mobile devices can still support basic travel and simpler experiments, depending on control comfort and performance.
The strongest Portal Sandbox players learn by testing repeatable layouts, documenting changes, and expanding from simple travel routes into controlled physics experiments.