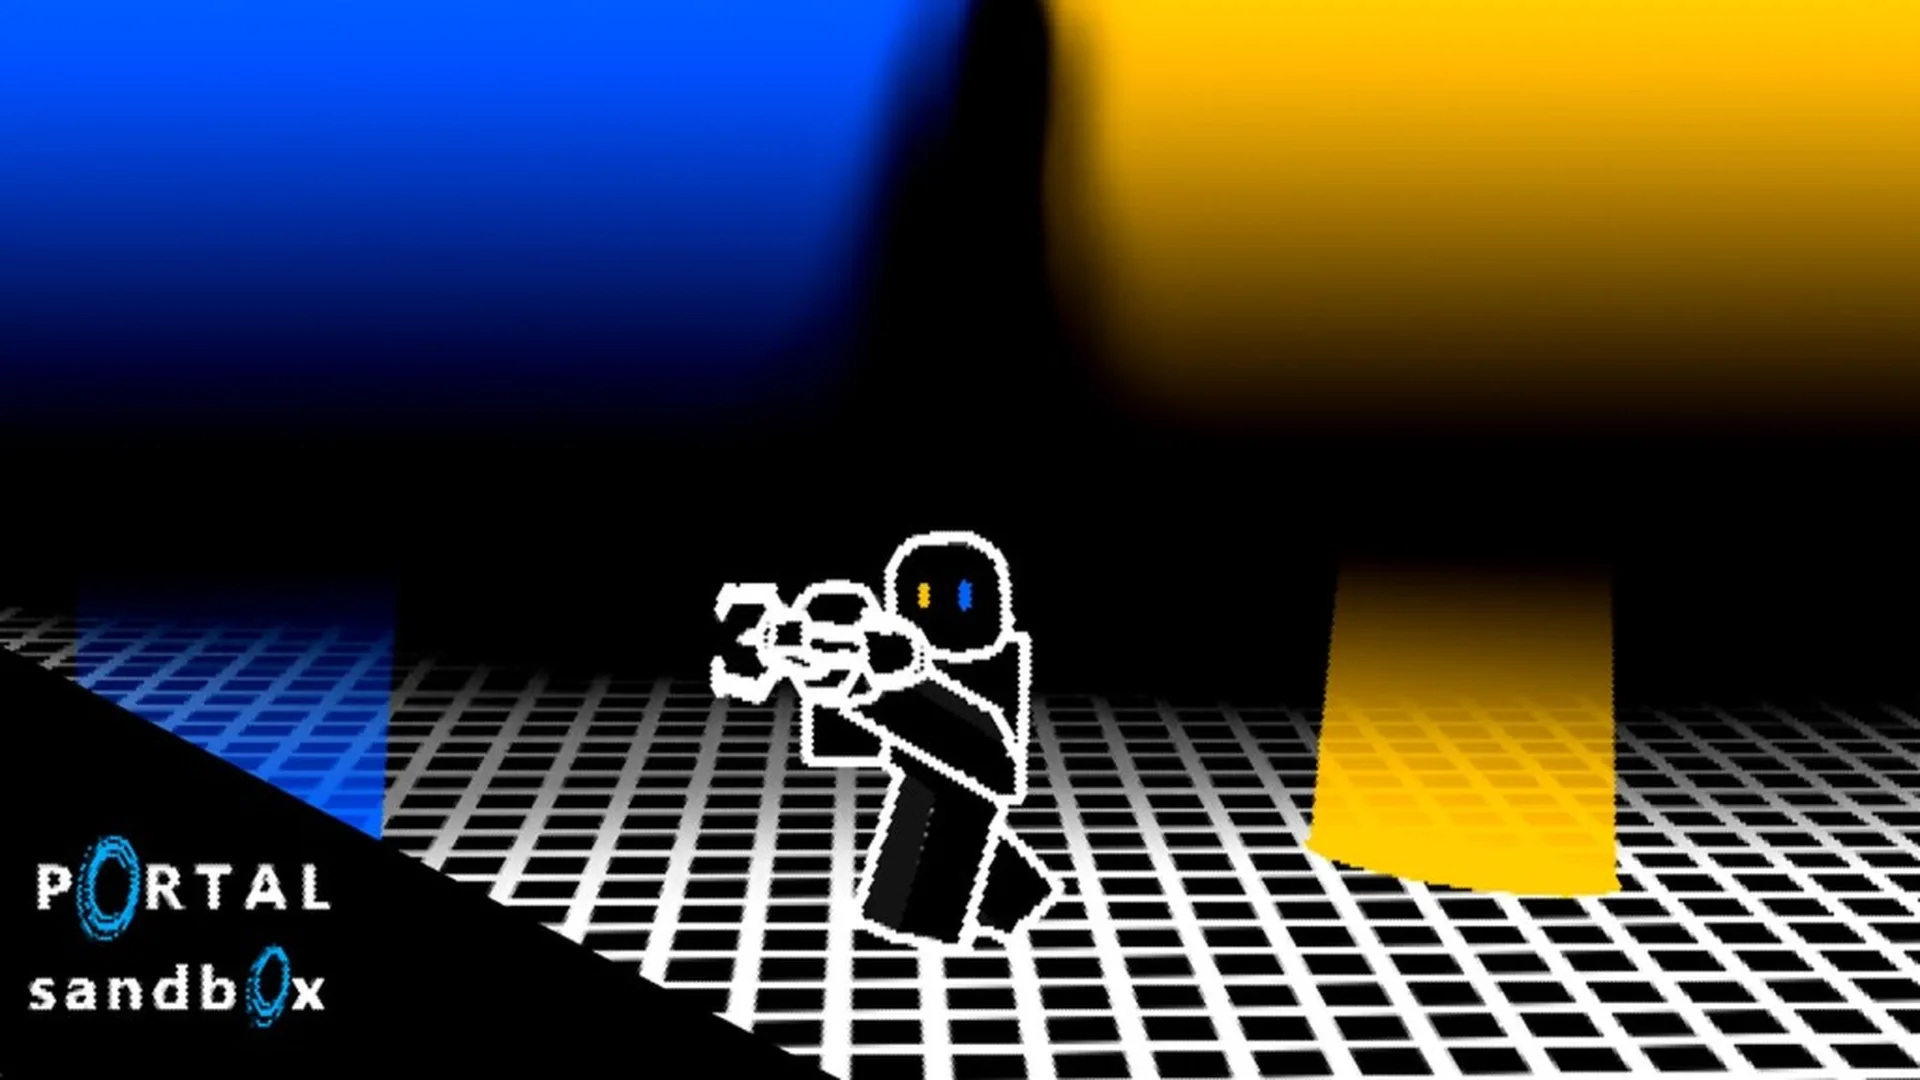
- Portal Sandbox portal system: Connect two compatible surfaces to create a practical movement route.
- Best starting point: Use nearby floor and wall surfaces before attempting complex layouts.
- Core loop: Equip the portal gun, place both portals, test the connection, then adjust one variable.
- Useful experiment: Compare entry angle, exit height, and object position to understand movement changes.
- Reliable setup: Private sessions make repeated testing easier when public activity interrupts experiments.
Portal Sandbox Portal System Basics
The Portal Sandbox portal system is built around open-ended experimentation. Instead of following one fixed route, you create connections between compatible surfaces, walk through them, and observe how placement changes movement. The most effective learning method is to begin with a small setup, test one result, and then modify only one part of the arrangement.
The portal gun is the central interaction tool. Equip it before attempting placement, aim at a visible surface, and use the available portal inputs to create the two connected portal types. Exact controls can vary by device, but the basic process remains consistent across the sandbox.
| Action | Recommended setup | Practical goal |
|---|---|---|
| Equip the tool | Select the portal gun before placing anything | Prepare for accurate aiming |
| Place the first portal | Use a nearby flat floor or wall | Create an easy-to-read entry point |
| Place the second portal | Choose another visible compatible surface | Connect two locations |
| Test the route | Walk through at a controlled speed | Observe exit position and direction |
| Replace a portal | Reuse the placement input on a new surface | Adjust the route without rebuilding everything |
Use two nearby surfaces for your first test. A simple connection makes it easier to understand placement, exit orientation, and movement before adding height or objects.
Movement Route
Connect a floor portal to a wall or elevated portal. This is a useful first exercise for learning how entry and exit positions affect travel.
Object Transfer
Place one portal near a movable object and the second in a marked destination area. Observe where the object appears after passing through.
Observation Loop
Arrange connected viewpoints around a small area and test whether the route creates a repeatable circulation path.
The official Portal Sandbox Roblox page is the best place to check the currently presented experience and available entry options.
Step-by-Step Portal Placement Setup
Follow this process whenever you want to build a new portal route. The method works for basic movement tests, object experiments, and more advanced creative layouts.
Enter the sandbox and equip the portal gun
Load into Portal Sandbox and locate the portal gun among your available tools. Equip it before aiming at a surface. Starting with the main interaction tool prevents unnecessary movement while searching for controls.
Choose a clear placement surface
Aim at a flat, visible floor or wall section. Keep the first surface close to your character so you can immediately inspect whether the portal attaches correctly.
Place the first portal
Use the available portal placement input while aiming at the selected surface. Confirm that the opening appears in the intended position before moving to the second location.
Place the second portal
Aim at another compatible surface and place the second portal. A nearby wall, elevated platform, or open floor area is easier to test than a distant or obstructed location.
Walk through and adjust one variable
Approach the first portal, pass through the connection, and inspect the exit position. If the result is difficult to control, replace only one portal and repeat the test.
| Setup stage | What to check | Common adjustment |
|---|---|---|
| Before placement | Tool equipped, surface visible, camera stable | Move closer or change the camera angle |
| First portal | Opening attaches to the intended surface | Choose a flatter or less obstructed area |
| Second portal | Exit is reachable and easy to observe | Move it closer or increase open space |
| First test | Travel direction and exit position | Change approach angle or portal height |
| Repeat test | One variable changes at a time | Replace one portal instead of both |
Irregular, hidden, or unsuitable surfaces may not support the route you intend. If placement behaves unexpectedly, reposition the camera and test a clearly visible surface before changing the whole layout.
The goal of this setup is not speed. It is repeatability. A route that can be rebuilt and tested consistently is more useful than a complicated arrangement that is difficult to understand.
Controls and Device Differences
Portal placement depends on aiming precision, camera control, and the ability to approach an opening at a deliberate angle. The core interaction remains similar, but the most comfortable method can differ between keyboard and mouse, console controls, and touch devices.
| Device | Strengths | Main consideration | Best use |
|---|---|---|---|
| PC | Precise mouse aiming, keyboard movement, large display options | Performance depends on hardware and connection quality | Detailed portal layouts and physics testing |
| Console | Comfortable controller movement and large-screen play | Analog aiming may require more adjustment | Casual experiments and cooperative sessions |
| Mobile | Portable access and quick sessions | Smaller screen, touch input, battery, and performance limits | Basic routes and simple portal checks |
For keyboard and mouse play, use the mouse to aim and the available primary or secondary portal inputs to select the desired portal type. Use movement controls to approach the opening rather than rushing into it. A controlled entry makes it easier to compare exit direction and landing position.
On touch devices, keep the camera close to the target surface when precision matters. Small changes in camera position can make portal placement harder to read, especially when several objects or structures are nearby.
Console players should begin with wide, flat surfaces. Once aiming feels comfortable, move to elevated exits, narrow routes, or object delivery experiments.
For complex experiments, PC is generally the most practical choice because mouse aiming and keyboard movement provide more direct control over portal placement and repeated testing.
Precision Priority
Choose PC when you need accurate placement, detailed route changes, or repeated object experiments.
Comfort Priority
Choose console play when relaxed movement and a larger shared screen matter more than pinpoint aiming.
Convenience Priority
Choose mobile for short sessions, basic exploration, and simple portal connections that do not require complex camera work.
When testing a new arrangement, keep the same device and control sensitivity for the first few attempts. Changing the setup and the input method at the same time makes the result harder to compare.
Portal Layouts and Physics Experiments
Once the basic route is reliable, use the sandbox to build small challenges. Portal Sandbox supports creative layouts involving movement routes, checkpoints, object delivery, height differences, and repeated observation. Treat each design as an experiment with a clear setup, goal, and expected result.
| Experiment | Required setup | What to compare |
|---|---|---|
| Floor-to-wall route | One floor surface and one wall or raised surface | Exit height and landing position |
| Checkpoint course | Several landmarks and planned portal connections | Route consistency between checkpoints |
| Launch and landing test | Lower entry, elevated exit, open landing area | Approach speed, angle, and distance |
| Object delivery lane | Movable object, entry portal, marked destination | Object exit position and direction |
| Multi-route comparison | Several compatible surfaces and destinations | Travel distance and route efficiency |
Floor-to-Wall Movement Route
Place one portal on the floor and the other on a nearby wall or elevated surface. Walk through the connection several times without moving either portal. Then raise or lower the exit and compare where the character lands.
This is a useful introduction to spatial planning because the layout is easy to see and the result can be repeated without many objects.
Portal Checkpoint Course
Build several short sections using recognizable landmarks. Each portal pair should have a clear purpose, such as reaching a raised area, crossing an obstacle, or redirecting movement around a structure.
To increase the challenge, complete the course without replacing a portal. For a flexible version, replace one portal at a time and compare alternate routes through the same space.
Object Delivery Lane
Place an interactable or movable object near the entry portal and create a destination area beside the exit. Move the object into the connection, then inspect its position and direction after transfer.
Repeat the test with a different exit orientation. This helps you understand how portal arrangement affects object behavior without requiring a large build.
Height and Acceleration Test
Use a lower entry position and an elevated exit position with enough open space for observation. Approach the entry at different speeds and compare the resulting movement.
The most useful variables are entry angle, exit height, distance from the landing area, and the direction faced before entering. Change one variable per attempt so the result remains clear.
Record the original layout mentally or with a screenshot, then change only one portal, height, or approach angle. Small controlled changes reveal more than rebuilding the entire scene each time.
Private servers can be useful for these experiments because they provide a focused space for solo testing, cooperative builds, and repeated setups with selected friends. The Portal Sandbox private server page can be used to review available server options.
Portal Session Checklist and Troubleshooting
A focused session helps you identify whether a problem comes from placement, controls, the selected surface, or the route itself. Use the checklist before starting a complex build.
Portal System Session Checklist:
- Equip the portal gun before choosing a route
- Test the first portal on a clear compatible surface
- Place the second portal where the exit is easy to observe
- Change one variable at a time during experiments
- Use a private session when repeated testing needs fewer interruptions
| Problem | Likely cause | Recommended fix |
|---|---|---|
| Portal does not attach | Surface may be unsuitable or difficult to target | Move closer and aim at a flatter visible area |
| Exit is hard to reach | Portal is too distant, high, or obstructed | Replace the exit with a nearby open surface |
| Movement feels inconsistent | Entry angle or speed changes between attempts | Approach from the same direction and speed |
| Object route is unclear | Destination lacks a visible marker | Place the exit near a recognizable landmark |
| Build is disrupted | Public activity changes the scene | Use a private server for repeatable testing |
Keep a simple test order:
- Verify that the portal gun is equipped.
- Confirm that both portals appear on intended surfaces.
- Walk through slowly.
- Repeat the same route.
- Change one portal or one approach condition.
- Compare the new result with the original.
The referenced official pages do not confirm active Portal Sandbox redemption codes. Do not use codes from unrelated Portal-themed Roblox experiences, and check the official game page or developer profile before treating a reward claim as valid.
For public updates and feature announcements, review the Portal Sandbox developer profile alongside the official game page. Keep current mechanics separate from older tests or development features when maintaining a wiki article.
Portal Sandbox Portal System FAQ
Q: What is the Portal Sandbox portal system?
It is the game's core interaction loop for connecting compatible surfaces with the portal gun, traveling between linked locations, and testing movement or object behavior.
Q: What is the best first portal setup?
Start with two nearby, visible surfaces such as a floor and a wall. Walk through the connection, observe the exit, and adjust one portal at a time.
Q: Which device is best for complex portal experiments?
PC is generally the strongest choice for detailed experiments because mouse aiming, keyboard movement, and a larger display provide more placement precision.
Q: Are there confirmed Portal Sandbox codes?
No confirmed official redemption codes are listed in the referenced official sources. Avoid codes associated with other Portal-themed Roblox experiences and check official channels for future announcements.
The most useful portal layouts are easy to rebuild, easy to compare, and designed around one clear objective. Start with a stable route, then expand into objects, height changes, checkpoints, and multi-portal experiments.