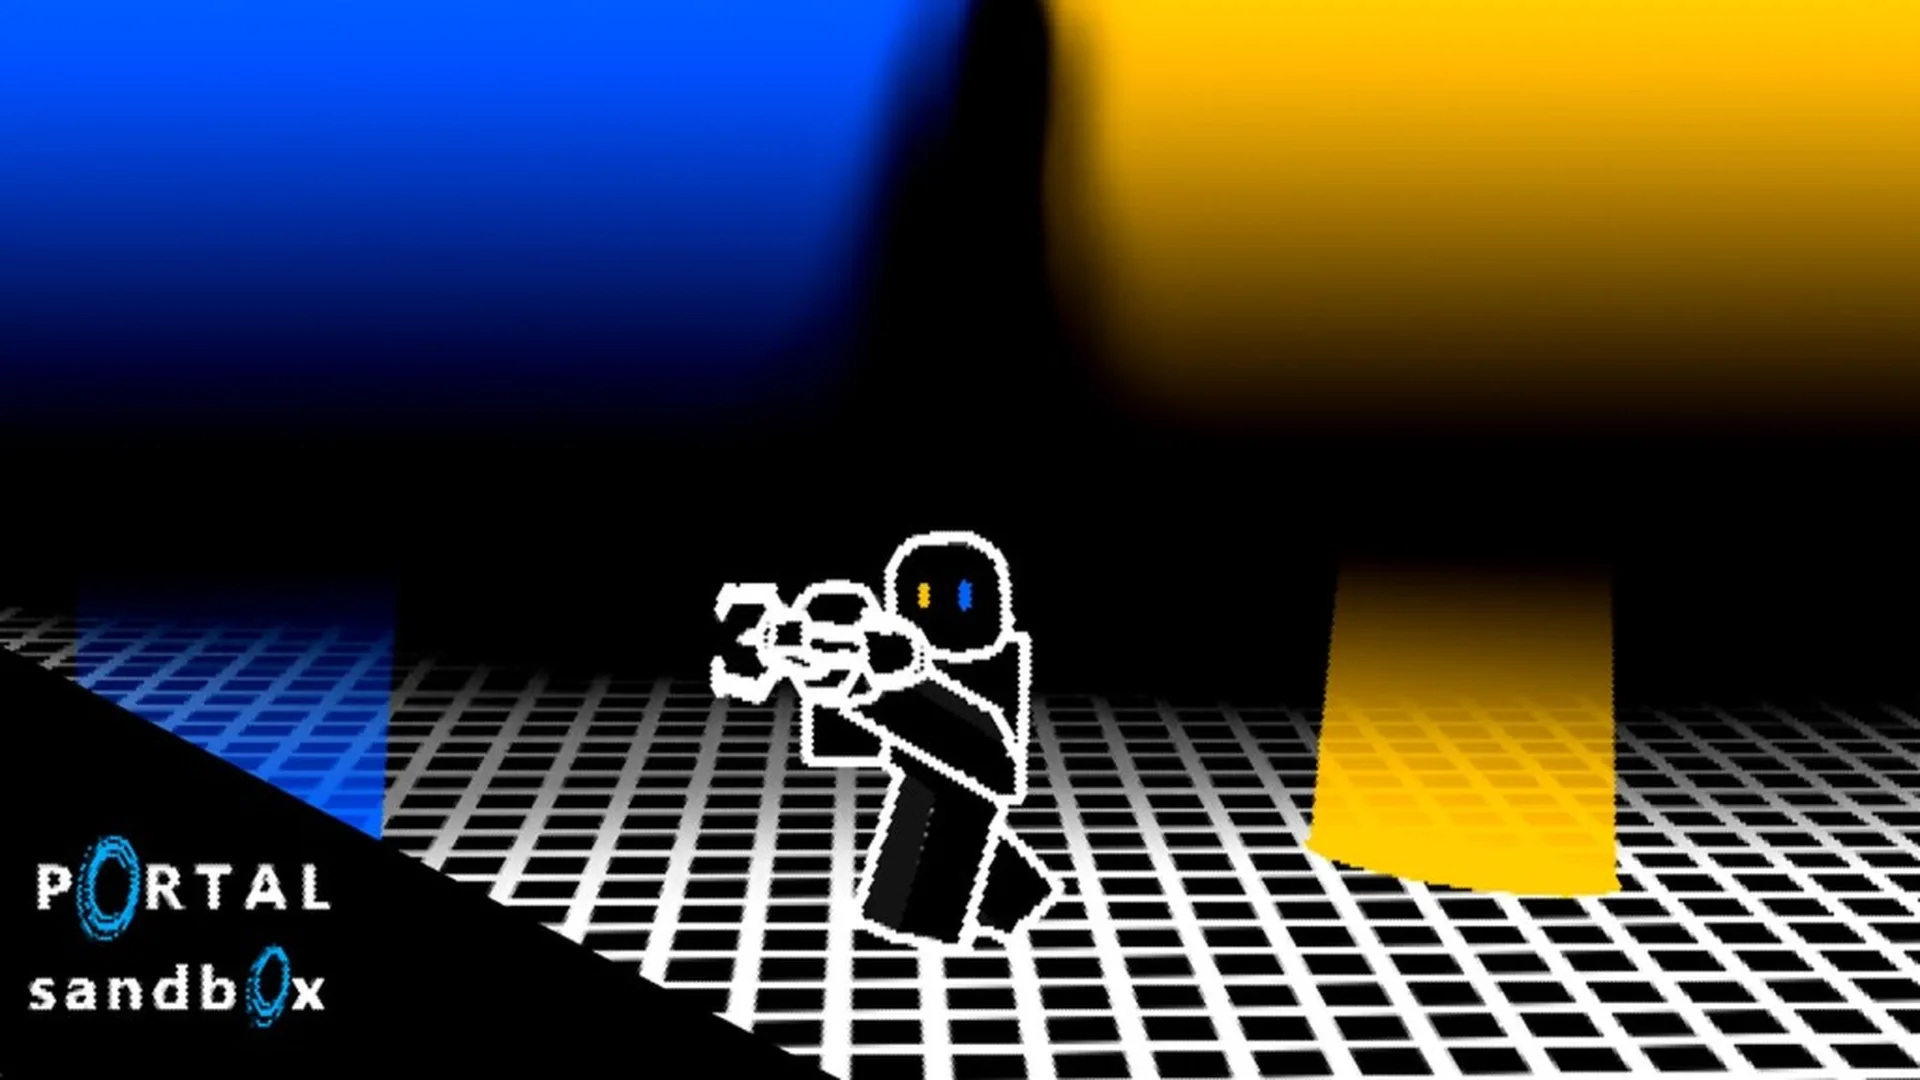
- Portal Sandbox linked portals connect two compatible surfaces for movement and object experiments.
- Start simple by placing one portal on a nearby floor or wall and the second on an easy-to-reach surface.
- Test the connection on foot before attempting physics routes, height changes, or object delivery setups.
- Replace one portal at a time to understand how position, angle, and height affect the route.
- Use private sessions when you need a stable area for repeatable builds and cooperative testing.
Portal Sandbox linked portals: Core Mechanics
Portal Sandbox linked portals form the basic movement loop of the experience. Equip the portal gun, aim at a suitable surface, place one portal, and then create its paired portal elsewhere. Walking through one opening should move you toward the connected exit, making portal placement useful for traversal, experiments, object routes, and creative builds.
The most reliable way to learn the mechanic is to change one variable at a time. Begin with two nearby surfaces that are easy to see. Once the connection is stable, compare different entry angles, exit heights, and distances. This approach makes it easier to identify whether a result comes from portal placement or from the surrounding scene.
| Element | Purpose | Beginner Recommendation |
|---|---|---|
| Portal gun | Places and replaces portal openings | Equip it before planning a route |
| Entry portal | Starting point for movement or object transfer | Place it near a clear approach path |
| Exit portal | Destination connected to the entry | Use a visible, open landing area |
| Compatible surface | Receives a portal placement | Start with flat floor or wall sections |
| Reset or replacement | Changes an existing route | Move one portal instead of rebuilding both |
Movement Link
Connect a floor and wall surface to create a short route. This is the easiest setup for learning how entry and exit orientation affect travel.
Object Route
Place one portal beside a movable object and the second in a marked destination area. Test transfer before adding extra complications.
Creative Build
Combine several portal placements with landmarks, obstacles, or elevated surfaces to create a repeatable challenge course.
Use nearby surfaces with open space around both openings. A simple layout gives you better visibility and makes failed placement easier to diagnose.
A linked portal setup is easier to understand when the two openings have distinct roles. Treat one as the entry point and the other as the destination, even if the connection can be used in both directions. Marking each side with a recognizable object or location also helps when testing longer routes.
Step-by-Step Linked Portal Setup
Follow this process whenever you want to create a new linked portal route. The sequence works well for first experiments and can later be adapted for movement challenges, object delivery, or cooperative builds.
Enter the sandbox and equip the portal gun
Load into the experience and locate the portal gun among your available tools. Keep the camera pointed toward the area where you want to begin so the first placement is easy to inspect.
Choose a compatible first surface
Aim at a flat, visible section of floor or wall. Avoid starting with an irregular surface, a crowded corner, or a location where the opening may be difficult to enter.
Place the first portal
Use the available portal placement input to create the first opening. Pause briefly and confirm that it appears in the intended position before placing the second portal.
Place the linked second portal
Aim at another compatible surface and place the paired portal. Choose a destination with enough room to walk through and observe the exit direction.
Walk through, observe, and adjust
Approach the first portal, pass through it, and inspect where you emerge. If the route is awkward, replace one portal and repeat the test rather than changing several variables at once.
| Setup Stage | What to Check | Good Result |
|---|---|---|
| Surface selection | Visibility, flatness, available space | Portal attaches where intended |
| First placement | Opening position and orientation | Entry path remains clear |
| Second placement | Destination height and direction | Exit can be reached and inspected |
| First traversal | Player movement and landing area | Route is easy to repeat |
| Adjustment | One changed variable | Cause of improvement remains clear |
Place both portals close together first. After the connection works, increase distance, change height, or add an object for the next experiment.
For keyboard and mouse players, precise aiming makes small adjustments easier. Touch players should keep the camera close to the target surface when placing a portal. Across all devices, approach the opening slowly during the first test so you can observe the exit position instead of rushing into an unfamiliar route.
The linked portal setup is ready for more advanced work when you can repeatedly enter one side, recognize the destination, and replace either portal without losing track of the intended route.
Linked Portal Layouts and Physics Experiments
Once the basic connection is stable, use linked portals to build small experiments. Portal Sandbox supports an open-ended style of play, so the best layouts are usually repeatable and easy to modify. Create a small setup, record the result, then change one feature.
| Experiment | Required Setup | Main Variable | What to Observe |
|---|---|---|---|
| Floor-to-wall route | Floor portal, nearby wall portal | Exit orientation | How the player continues after leaving |
| Object transfer | Movable object, entry, destination | Object approach angle | Exit position and direction |
| Height test | Lower surface, elevated surface | Exit height | Landing area and movement outcome |
| Route loop | Three or more portal connections | One replaced exit | Whether the path returns toward the starting zone |
| Checkpoint course | Several marked destinations | Portal order | Travel consistency between landmarks |
Floor-to-Wall Movement
Place one portal on a floor section and the other on a nearby wall. Walk through slowly, then repeat from a slightly different approach angle. This layout is useful for understanding how the exit surface changes the direction of continued movement.
Object Delivery Lane
Set a visible destination away from the starting area. Position a movable object near the entry portal, then push or guide it toward the opening. After the first transfer, change the exit orientation and compare where the object appears. Keep the route short until the behavior is easy to reproduce.
Height and Landing Test
Use a lower entry position and an elevated destination with a safe observation area. Test the route at different approach speeds and compare the landing position. Change only the height or exit angle during each attempt so the results remain useful.
Portal Checkpoint Course
Create several recognizable checkpoints around the sandbox. Link the first route, complete it, and then replace one portal to create an alternate path. This turns simple movement into a small challenge that can be repeated alone or with friends.
Adding height, speed, objects, and extra portals simultaneously makes results difficult to interpret. Test the basic link first, then expand the layout gradually.
Private servers are particularly useful for these experiments because they provide a more focused space for solo testing, cooperative construction, and repeated setups. For the current experience entry point, use the official Portal Sandbox Roblox page rather than relying on unrelated portal-themed experiences.
Troubleshooting and Control Tips
Most linked portal problems come from placement, visibility, or route design rather than from the idea itself. Use the checks below before rebuilding an entire experiment.
| Problem | Likely Cause | Recommended Fix |
|---|---|---|
| Portal will not attach | Surface may be unsuitable or irregular | Aim at a clearer floor or wall section |
| Exit is hard to reach | Destination is crowded or poorly angled | Move the exit to an open area |
| Route feels inconsistent | Several variables changed together | Reset and test one adjustment |
| Object misses the opening | Approach lane is too narrow | Create a wider entry path |
| Camera makes placement difficult | Target surface is too far or partially hidden | Move closer and aim directly at the surface |
| Complex build becomes confusing | Too many portals or landmarks | Label the route with simple checkpoints |
Improve Placement Precision
Keep the camera close to the target surface when accuracy matters. A larger visible section makes it easier to judge whether the portal is aligned with the intended route. For complex scenes, place portals one at a time and inspect each opening before continuing.
Keep a Reset Plan
Before testing, identify how you will replace the entry or exit portal. If a layout stops working, move the most recently changed portal first. This preserves the useful parts of the experiment and shortens the recovery process.
Compare Devices Carefully
PC play generally provides more precise mouse aiming and more control for complex scenes. Console controls can be comfortable for movement, while mobile devices are practical for shorter sessions and basic portal testing. Performance and input comfort can vary by device, connection, and scene complexity.
Linked Portal Test Checklist:
- Equip the portal gun before placing anything
- Choose two visible and compatible surfaces
- Leave open space around both portal openings
- Test the connection on foot before adding objects
- Change one portal or one variable at a time
The live Roblox experience page is the best place to confirm current access and presented features. Keep older experiments separate from mechanics confirmed in the current experience.
When playing with friends, assign clear roles: one player can manage portal placement while another observes movement or object behavior. This reduces accidental changes and makes cooperative testing easier.
FAQ About Portal Sandbox Linked Portals
Q: What are Portal Sandbox linked portals?
They are paired portal openings that connect two compatible surfaces. Players can use the connection to travel, redirect objects, test movement, and build creative routes.
Q: What is the easiest linked portal setup for beginners?
Place one portal on a nearby floor section and the second on a visible wall or open surface. Walk through the connection before attempting height changes or object experiments.
Q: Why will a portal not attach to a surface?
The surface may be irregular, unsuitable, difficult to see, or too crowded for the intended placement. Move closer, aim at a clearer section, and try a flat floor or wall.
Q: How can I make linked portal experiments easier to repeat?
Use recognizable landmarks, keep the first route short, record one variable at a time, and consider a private server for uninterrupted testing or cooperative construction.
Build a stable two-portal connection before adding more openings. Mastering the simple route gives you a reliable foundation for loops, checkpoint courses, and physics experiments.
The strongest Portal Sandbox linked portals setups are not necessarily the largest. A compact route with a clear purpose is easier to understand, adjust, and share. Start with movement, add an object or height difference, and only then expand into multi-portal designs.