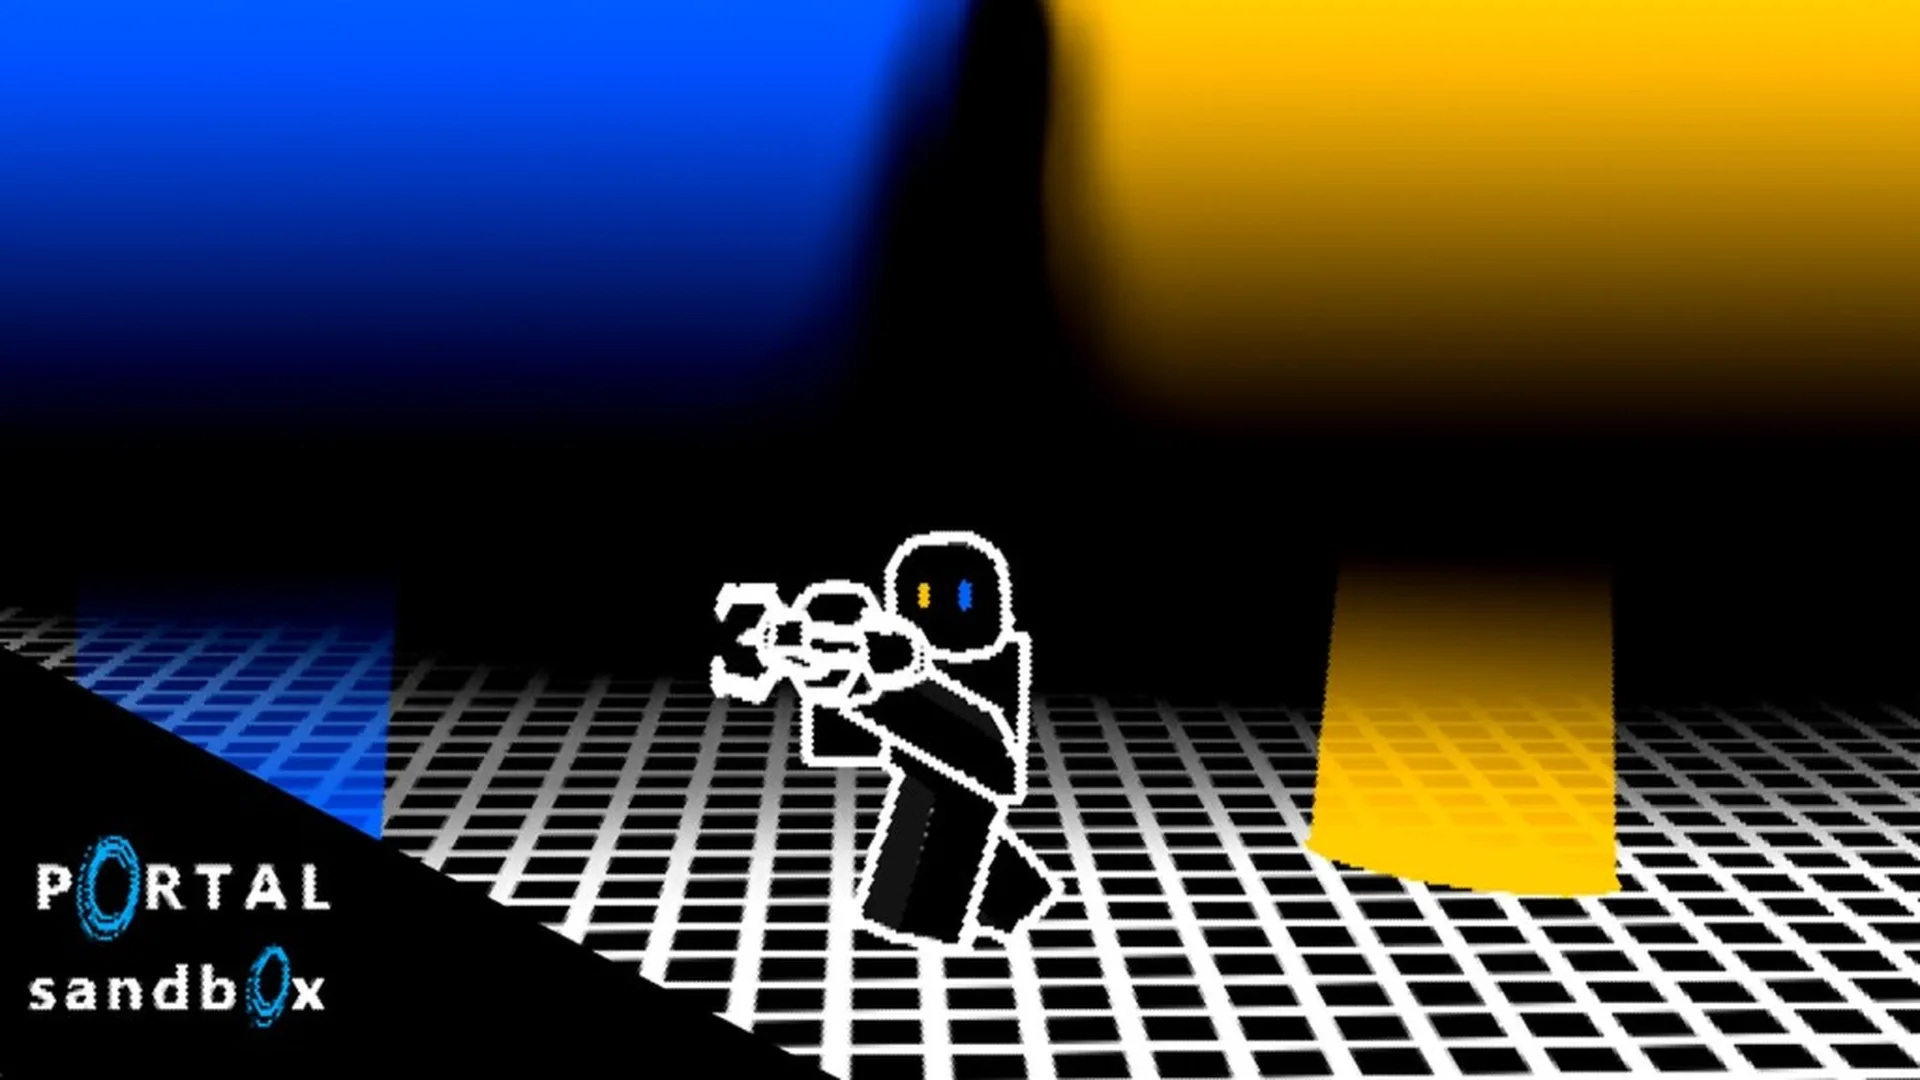
- Portal Sandbox mods are best approached as creative build concepts, physics setups, and custom challenges.
- Start simple with two portals, nearby surfaces, and a clear destination before attempting complex routes.
- Use private servers for repeatable experiments, cooperative builds, and layouts that need uninterrupted testing.
- Change one variable at a time when testing height, angle, object movement, or portal placement.
- Check official updates before treating a mechanic or feature as part of the current Roblox experience.
Portal Sandbox Mods: What to Build First
Portal Sandbox mods can be understood as player-created modifications to the normal sandbox loop: custom portal layouts, movement courses, object routes, physics tests, and repeatable challenge rooms. The core experience centers on experimenting with a portal gun rather than following a fixed campaign route. That makes small, controlled builds more useful than oversized projects when you are still learning the environment.
A good first setup uses one floor or wall surface for the entry portal and another visible surface for the exit portal. Walk through the connection, observe the exit position, and then replace only one portal. This creates a reliable baseline for comparing layouts.
Traversal Builds
Create floor-to-wall routes, elevated exits, short obstacle courses, and checkpoint paths. These builds are useful for learning movement and exit orientation.
Physics Builds
Test object transfer, height differences, approach speed, and portal loops. Keep the area open so movement and landing points are easy to observe.
Creative Builds
Design demonstration rooms, cooperative puzzles, visual chambers, and custom portal scenes. Private sessions make these projects easier to preserve.
| Build Type | Required Setup | Main Skill | Recommended Difficulty |
|---|---|---|---|
| Basic route | Two compatible surfaces | Portal placement | Beginner |
| Floor-to-wall course | Floor, wall, landing area | Exit orientation | Beginner |
| Object delivery lane | Portal pair and movable object | Object routing | Intermediate |
| Portal loop | Three or more surfaces | Route planning | Intermediate |
| Multi-route chamber | Several destinations | Layout comparison | Advanced |
Use a compact test area and record the result of each change. A simple route that can be repeated is more valuable than a large layout that is difficult to troubleshoot.
For current access and experience details, use the official Portal Sandbox Roblox page. The live experience should remain the primary reference for available mechanics, controls, and supported features.
Step-by-Step Portal Setup Guide
The fastest way to understand Portal Sandbox is to create one stable portal connection and test it from several approaches. These steps work for both casual exploration and the foundation of more advanced Portal Sandbox mods.
Enter the sandbox and equip the portal gun
Load into the experience and locate the portal gun among your available tools. Equip it before trying to place portals. Make sure you can aim clearly at the surface you want to use.
Choose a compatible surface
Start with a nearby, flat, visible floor or wall. Avoid irregular surfaces until you understand which areas accept portal placement. A clear surface makes the first test easier to read.
Place the first portal
Aim at the chosen surface and use the available portal placement input. Keep the first portal close enough that you can quickly walk to it and inspect the connection.
Place the second portal
Select another compatible surface and place the second portal. Choose an exit location with enough room to move through, land, or observe an object.
Test, replace, and compare
Walk through the connection, note the exit position, and replace one portal. Compare the new route with the original instead of changing both locations at once.
| Action | Keyboard and Mouse | Touch Device | Practical Advice |
|---|---|---|---|
| Aim | Mouse camera control | Touch camera control | Keep the target surface centered |
| Place portal | Use the available primary or secondary input | Tap the matching on-screen control | Confirm the surface is compatible |
| Move through portal | Standard movement controls | On-screen movement controls | Approach slowly during early tests |
| Replace portal | Use the same placement input again | Select the portal placement control | Move one portal before rebuilding |
| Inspect result | Adjust camera and movement | Reposition camera carefully | Observe exit angle and landing area |
If a portal does not appear where expected, check the surface, camera angle, available space, and input selection before assuming the layout is broken.
Portal placement is easier when you separate the process into three questions:
- Can the portal attach to this surface?
- Can the player safely reach the entrance?
- Does the exit provide enough space for movement or object transfer?
This method reduces unnecessary resets and gives each Portal Sandbox mods project a clear starting structure.
Creative Portal Sandbox Mods Ideas
Once the basic connection works, expand the layout by adding a single challenge. The strongest creative builds have a clear objective, a visible destination, and a way to repeat the test. Avoid adding multiple moving parts before you know which part caused a successful or failed result.
Portal Checkpoint Course
Place recognizable landmarks along a route and require players to reach each checkpoint using planned portal connections. Change one exit to create alternate paths.
Launch and Landing Test
Combine a lower entry position with an elevated exit. Compare how approach direction, height, and landing space affect the result.
Object Delivery Lane
Place an interactable object near an entry portal and create a marked destination. The challenge is to move the object through the route.
Observation Chamber
Arrange connected viewpoints that let players compare movement, camera angles, and repeated portal travel from a controlled room.
| Mod Concept | Setup | Objective | Useful Variation |
|---|---|---|---|
| Floor-to-wall route | One floor portal and one wall portal | Reach the elevated exit | Move the exit farther away |
| Checkpoint course | Several marked destinations | Complete the route in order | Remove one portal after each checkpoint |
| Object lane | Entry portal beside an object | Deliver the object to a target | Change the destination height |
| Looping chamber | Connected viewpoints | Observe repeated movement | Alter one exit angle |
| Cooperative puzzle | Two or more portal zones | Coordinate a shared route | Assign each player a separate task |
A useful design pattern is the one-variable challenge:
- Build a stable route.
- Change only the exit height.
- Repeat the same movement.
- Compare the landing position.
- Record the result before making another change.
This pattern helps turn casual experimentation into a repeatable custom challenge. It also makes builds easier to explain to friends when playing in a shared session.
A strong custom layout should have a visible goal, a repeatable starting point, enough room to recover from mistakes, and one mechanic that can be tested clearly.
For larger builds, use landmarks such as colored blocks, walls, corners, or open floor sections. These visual references make it easier to identify whether a portal moved, an object exited at a different angle, or the player reached an unintended area.
Physics Experiments and Private Testing
Physics-focused Portal Sandbox mods are easier to manage when each experiment includes four parts: required objects, setup, procedure, and expected result. The goal is not to predict every outcome immediately. Instead, create a repeatable arrangement and compare small changes.
| Experiment | Required Items | Procedure | Result to Observe |
|---|---|---|---|
| Object transfer | Portal gun, two surfaces, movable object | Place the object near the entry and push it through | Exit position and direction |
| Route loop | Portal gun, three surfaces, observation area | Build connected routes around a small zone | Whether movement returns to the starting area |
| Height test | Lower surface, elevated surface, landing area | Change exit height and repeat the approach | Landing point and movement direction |
| Route comparison | Several surfaces and destinations | Replace one portal between tests | Travel distance and exit orientation |
A private server is especially useful for solo experiments, cooperative testing, and creative construction. It reduces interruptions from public-server activity and allows players to rebuild the same layout several times. Use the Portal Sandbox private-server page to review available server access.
Physics Test Checklist:
- Choose two or more compatible portal surfaces
- Mark the starting position and target area
- Record the original portal height and angle
- Change one layout variable per test
- Reset the scene before comparing a new result
Run three short trials before changing the setup. Repeated results are easier to evaluate than a single attempt affected by positioning, camera movement, or accidental portal replacement.
For object experiments, leave extra space beyond the exit portal. Objects may need room to continue moving after transfer, and a cramped destination can make the result difficult to identify. For movement experiments, keep the camera steady and approach the entrance from similar directions.
Private testing also supports collaborative building. One player can place portals, another can monitor the destination, and a third can record which arrangement produced the most useful route. This division of roles is helpful for multi-portal chambers and timed obstacle designs.
Controls, Platforms, and Troubleshooting
Portal placement requires precision, so the best device depends on the complexity of the build. PC generally offers the clearest aiming control for detailed layouts, while touch devices can work well for casual exploration and simple portal tests. Console play can be comfortable for movement, though analog aiming may require additional adjustment.
| Platform | Best Use | Strengths | Main Consideration |
|---|---|---|---|
| PC | Detailed builds and physics tests | Precise aiming, keyboard movement, large displays | Performance depends on hardware and connection |
| Console | Comfortable movement and shared-screen play | Controller input and larger displays | Precise portal placement may take practice |
| Mobile | Casual testing and short sessions | Portable access and quick entry | Smaller screen and touch aiming can limit complex builds |
Portal Does Not Place
Recenter the camera, aim at a flatter surface, move closer, and confirm that the selected input matches the intended portal type.
Exit Is Hard to Reach
Replace the exit portal with a nearby surface, add more open space, and test the route from a slower approach.
Object Route Fails
Move the entry closer to the object, clear the destination area, and compare the object position before and after transfer.
Common troubleshooting should follow a fixed order:
- Check the target surface.
- Check the portal input.
- Check whether the portal is visible.
- Check the approach angle.
- Replace one portal and test again.
Portal Sandbox can change as new mechanics, experiments, or building options are introduced. Separate current behavior from older notes and verify feature availability on the live experience page.
Keep update notes organized by date so that a previous test is not mistaken for a current feature. The developer profile and live Roblox experience are the most useful places to check public announcements and available functionality.
Portal Sandbox Mods FAQ
The following answers summarize the most practical approach to building, testing, and maintaining custom Portal Sandbox layouts.
Q: What are Portal Sandbox mods?
Portal Sandbox mods are player-created build concepts rather than confirmed official downloadable modifications. They commonly include portal courses, physics experiments, object routes, cooperative puzzles, and custom observation rooms.
Q: What should I build first in Portal Sandbox?
Start with two portals on nearby compatible surfaces. Walk through the connection, observe the exit, and replace one portal at a time before attempting loops, elevated routes, or object-delivery challenges.
Q: Are private servers useful for Portal Sandbox mods?
Yes. Private servers are useful for solo experiments, friends-only collaboration, repeatable physics tests, and creative builds that could be disrupted by public-server activity.
Q: Which platform is best for detailed portal experiments?
PC is generally the strongest choice for precise aiming and complex layouts. Console can work well for movement-focused play, while mobile is better suited to casual exploration and simpler tests.
| Goal | Recommended Approach | Avoid |
|---|---|---|
| Learn placement | Use two nearby surfaces | Starting with a huge build |
| Test physics | Change one variable | Changing height, angle, and route together |
| Build with friends | Use a private session | Rebuilding in a crowded public area |
| Track features | Check current official information | Treating old notes as current mechanics |
Treat every build as a small experiment. Start with a clear route, test it repeatedly, then expand it into a challenge, puzzle, or physics showcase.