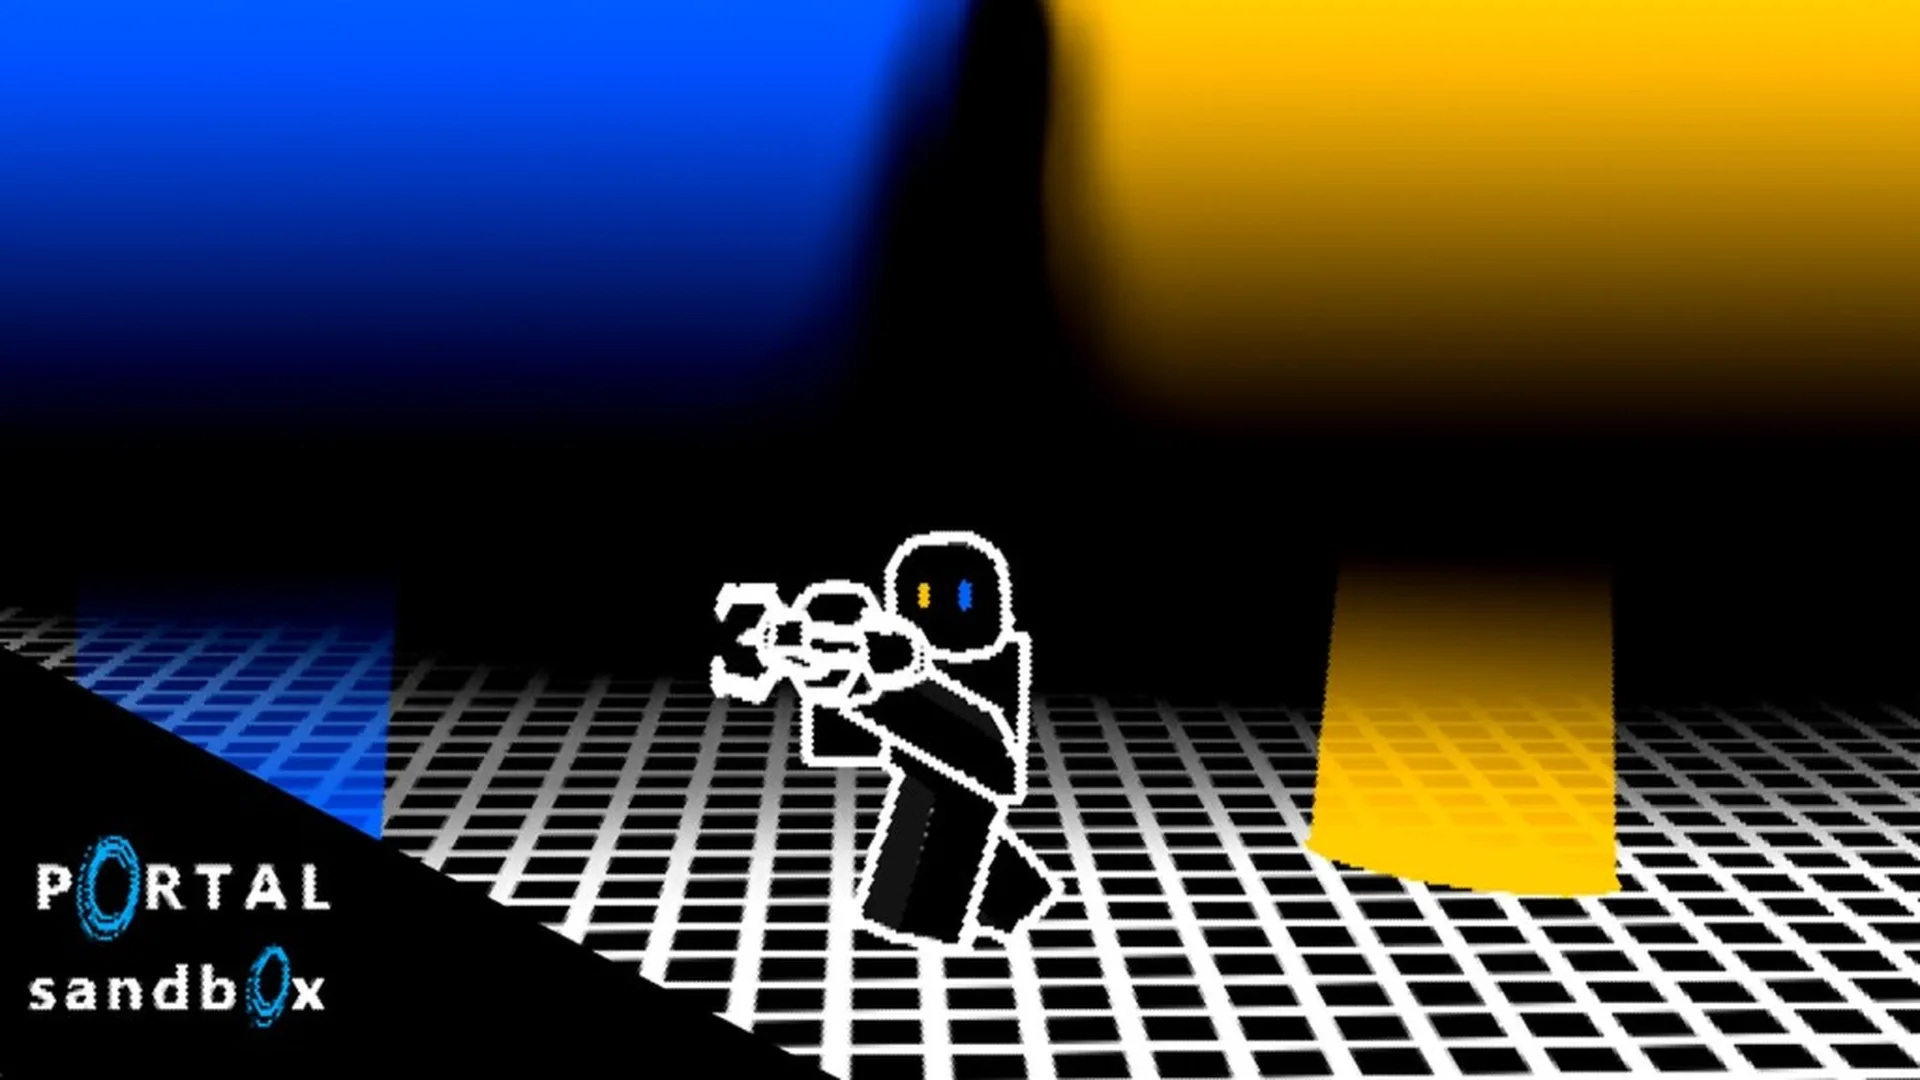
- Portal Sandbox puzzle maps work best when each room has one clear movement problem.
- Start small with floor-to-wall routes before adding objects, height changes, or multiple exits.
- Mark destinations with visible landmarks so players can understand the intended solution.
- Test privately when building complex layouts or cooperative challenges.
- Change one variable at a time to identify why a route succeeds or fails.
What Makes a Good Puzzle Map
Portal Sandbox puzzle maps are player-built challenges based on portal placement, movement routes, physical objects, and repeatable experiments. The strongest layouts do not need a large footprint. They need a readable objective, compatible surfaces, and enough space for players to understand how one portal changes the route.
A useful puzzle map usually contains four elements:
- Starting area: A safe location where players can orient themselves.
- Portal surfaces: Clearly visible floors, walls, platforms, or elevated sections.
- Target area: A destination, checkpoint, button, object zone, or marked landing point.
- Reset space: Room to replace portals and try another solution without rebuilding everything.
The sandbox format supports open-ended experimentation rather than a fixed campaign route. That means a map can be a short movement test, a delivery challenge, an obstacle course, or a cooperative construction. Keep the first version simple, then add complexity after the core route works consistently.
| Map Element | Recommended Design | Common Problem |
|---|---|---|
| Starting area | Open space with a visible landmark | Players cannot tell where to begin |
| Entry portal | Flat, nearby, and easy to aim at | The first interaction feels unclear |
| Exit portal | Visible destination with room to land | Players miss the intended route |
| Challenge object | One movable or interactable object | Too many objects create confusion |
| Reset area | Clear space for replacing portals | Failed attempts disrupt the whole map |
Use a short route as your first prototype. A small map is easier to test, explain, and revise than a large room filled with untested mechanics.
Traversal Map
Connect a floor portal to an elevated or distant surface. The goal is to reach a marked destination using the planned route.
Object Delivery Map
Place an object near an entry portal and create a destination zone. Players must move the object through the connection.
Cooperative Map
Give two players separate positions or tasks. One player manages placement while the other observes, moves, or confirms the result.
Five Puzzle Map Ideas to Build
The following designs use the core sandbox loop: equip the portal gun, place portals, test movement, and adjust the layout. Each idea can remain a short challenge or become part of a larger sequence of connected rooms.
| Puzzle Type | Main Objective | Best Starting Setup | Difficulty |
|---|---|---|---|
| Floor-to-wall route | Reach an elevated exit | One floor surface and one nearby wall | Easy |
| Checkpoint course | Pass several marked areas | Two or more short portal sections | Medium |
| Launch and landing test | Land in a selected zone | Lower entry, elevated exit, open landing area | Medium |
| Object delivery lane | Move an object to a target | Entry portal beside object, exit near target | Medium |
| Looping observation room | Study repeated movement | Several connected surfaces around one room | Advanced |
1. Floor-to-Wall Movement Route
This is the best first puzzle map because the objective is easy to understand. Place one portal on a floor section and the other on a nearby wall or raised surface. Add a visible marker at the exit and ask players to reach it without moving either portal.
To increase difficulty, move the exit farther away, reduce the landing area, or place the starting position at an angle. Avoid adding multiple objects until the basic route is reliable.
2. Portal Checkpoint Course
Build a sequence of small sections instead of one oversized room. Each section should have a recognizable checkpoint, such as a platform, colored block, doorway, or open landing zone. Players travel from the starting area to the final checkpoint using the intended portal route.
This layout is useful for solo practice and friendly time trials. Keep each checkpoint visually distinct so players can identify progress without needing a separate map screen.
3. Launch and Landing Test
Use a lower entry position and an elevated exit position to explore how approach direction, height, and portal orientation influence movement. Place a safe landing zone below or beyond the exit.
The challenge can require players to land inside a marked area several times. For a more advanced version, create multiple landing zones with different distances and award success based on accuracy rather than speed.
4. Object Delivery Lane
Create a starting zone for a movable object and a clearly marked destination. The player must guide the object through the portal connection and finish it inside the target area.
This map works best when the object remains easy to see. Use short distances first, then add a second route, a height difference, or a repositioned exit. If the object behaves unpredictably, simplify the layout before adding another mechanic.
5. Looping Observation Room
Arrange portals around a compact room to create a repeating movement path. The goal may be to observe how a player or object travels through connected viewpoints, or to identify the point where the route changes after one portal is replaced.
Looping rooms are more difficult to explain, so add a diagram-like landmark at each transition. Test the route from multiple entry positions before inviting other players.
A large room with many portals is not automatically a strong puzzle. Give players a destination, a delivery target, or a specific route to complete before adding extra visual effects.
Step-by-Step Puzzle Map Setup
Follow this process when creating a new Portal Sandbox puzzle map. The method keeps the build focused and makes failed experiments easier to diagnose.
Choose One Core Challenge
Decide whether the map is about traversal, landing accuracy, object movement, route selection, or cooperation. Write the objective in one sentence before placing portals.
Select Compatible Surfaces
Find a flat, visible entry surface and a second surface that supports the intended exit. Begin with nearby floor and wall sections so you can observe the connection clearly.
Place the First Portal
Put the first portal near the starting position or challenge object. Leave enough room for players to approach it without getting trapped against another structure.
Place and Mark the Exit
Add the second portal at the destination side of the puzzle. Use a landmark, open platform, or target zone to show where players should arrive.
Test, Reset, and Expand
Walk through the route, observe the exit position, replace one portal, and repeat the test. Only add more objects or sections after the basic solution is consistent.
| Testing Pass | What to Check | Revision if It Fails |
|---|---|---|
| First pass | Can the player identify the starting point? | Add a landmark or clear open space |
| Portal pass | Do both portals attach where expected? | Try flatter or more visible surfaces |
| Movement pass | Is the exit reachable and readable? | Widen the landing area or adjust height |
| Object pass | Does the object reach the target? | Remove extra obstacles and shorten distance |
| Multiplayer pass | Can another player understand the goal? | Add signs, checkpoints, or a simple route order |
Change only one condition between attempts. Moving the exit, changing the approach angle, and adding an object at the same time makes it difficult to identify the real cause of a failed route.
Solo, Private, and Group Map Testing
A private server is useful when you need a controlled space for building and repeated testing. It reduces interruptions from public-server activity and gives builders more room to compare layouts. Use the Portal Sandbox private server page to review the current server options.
Private testing is especially helpful for:
- Repeating the same portal setup several times.
- Measuring whether a landing zone is large enough.
- Building cooperative routes with selected friends.
- Recording or demonstrating a puzzle without unrelated activity.
- Comparing two versions of the same room.
| Testing Mode | Best Use | Strength | Limitation |
|---|---|---|---|
| Solo session | Early prototypes | Fast resets and focused observation | No second-player feedback |
| Friends-only session | Cooperative puzzles | Real player reactions and teamwork tests | Requires coordination |
| Public session | Casual demonstrations | More spontaneous participation | Other players may alter the setup |
| Private server | Complex builds | Controlled environment for revision | Availability and access may vary |
For group maps, assign clear roles. One player can place portals, another can move objects, and a third can observe the route from the destination side. Rotate roles so the map is understandable from more than one perspective.
For mobile or controller-based testing, make targets larger and routes easier to read. Precise aiming can require more adjustment on smaller screens or analog input, so a puzzle that feels fair on a mouse may need a wider landing area elsewhere.
Puzzle Map Quality Checklist:
- The objective can be explained in one sentence
- The starting area and target area are easy to identify
- Both portal surfaces are visible and compatible
- The route can be reset without rebuilding the entire map
- Another player can understand the solution after a short test
Test important maps on the devices your intended players use. Camera distance, aiming precision, screen size, and performance can affect how readable a portal challenge feels.
Advanced Routes and Map Balancing
Once the basic map works, add complexity carefully. The best advanced layouts introduce one new decision at a time instead of hiding the solution behind clutter.
Useful upgrades include:
- Alternate exits: Let players choose between a safe route and a faster route.
- Height changes: Compare low and elevated portal positions.
- Object timing: Require players to move an object before replacing an exit portal.
- Route loops: Send players through a compact circuit before reaching the destination.
- Checkpoint progression: Divide a long map into smaller sections with visible milestones.
- Cooperative roles: Give each player information or control that the other player lacks.
| Advanced Feature | Design Benefit | Balance Advice |
|---|---|---|
| Alternate route | Adds meaningful decisions | Make both paths understandable |
| Height difference | Creates movement variety | Provide a safe landing area |
| Moving object | Adds physical interaction | Use one object before adding more |
| Timed sequence | Increases pressure | Keep the timing generous during testing |
| Multiple checkpoints | Supports longer maps | Use clear visual markers |
| Cooperative control | Encourages communication | Ensure each role has a useful task |
A good map should communicate failure clearly. If a player misses the target, they should know whether the issue was portal placement, movement angle, timing, or object position. Add a reset area, visible boundaries, and simple visual cues rather than relying on trial and error alone.
You can also publish a map as a series. Start with a basic floor-to-wall route, then introduce object delivery, height-based movement, and multi-portal routing in later rooms. This progression teaches the mechanic while preserving the creative freedom of the sandbox.
For current experience access and live feature details, check the official Portal Sandbox Roblox page. Feature behavior can change as the experience develops, so re-test older puzzle maps after major updates.
Treat every puzzle map as a prototype until another player can complete it without step-by-step coaching. Outside feedback reveals unclear targets and accidental shortcuts quickly.
Q: What are Portal Sandbox puzzle maps?
They are player-built challenges that use portal placement, movement routes, objects, height changes, or cooperation to create a clear objective inside the sandbox.
Q: What is the best first puzzle map to build?
Start with a floor-to-wall movement route. It uses two easy-to-understand surfaces and lets you test portal placement without adding unnecessary mechanics.
Q: Should I build puzzle maps in a private server?
A private server is useful for repeated testing, solo experiments, cooperative construction, and layouts that could be disrupted in a public session.
Q: How can I make a puzzle map easier to understand?
Use visible landmarks, a clear starting area, one objective, compatible portal surfaces, and a reset space. Add complexity only after the basic route works consistently.