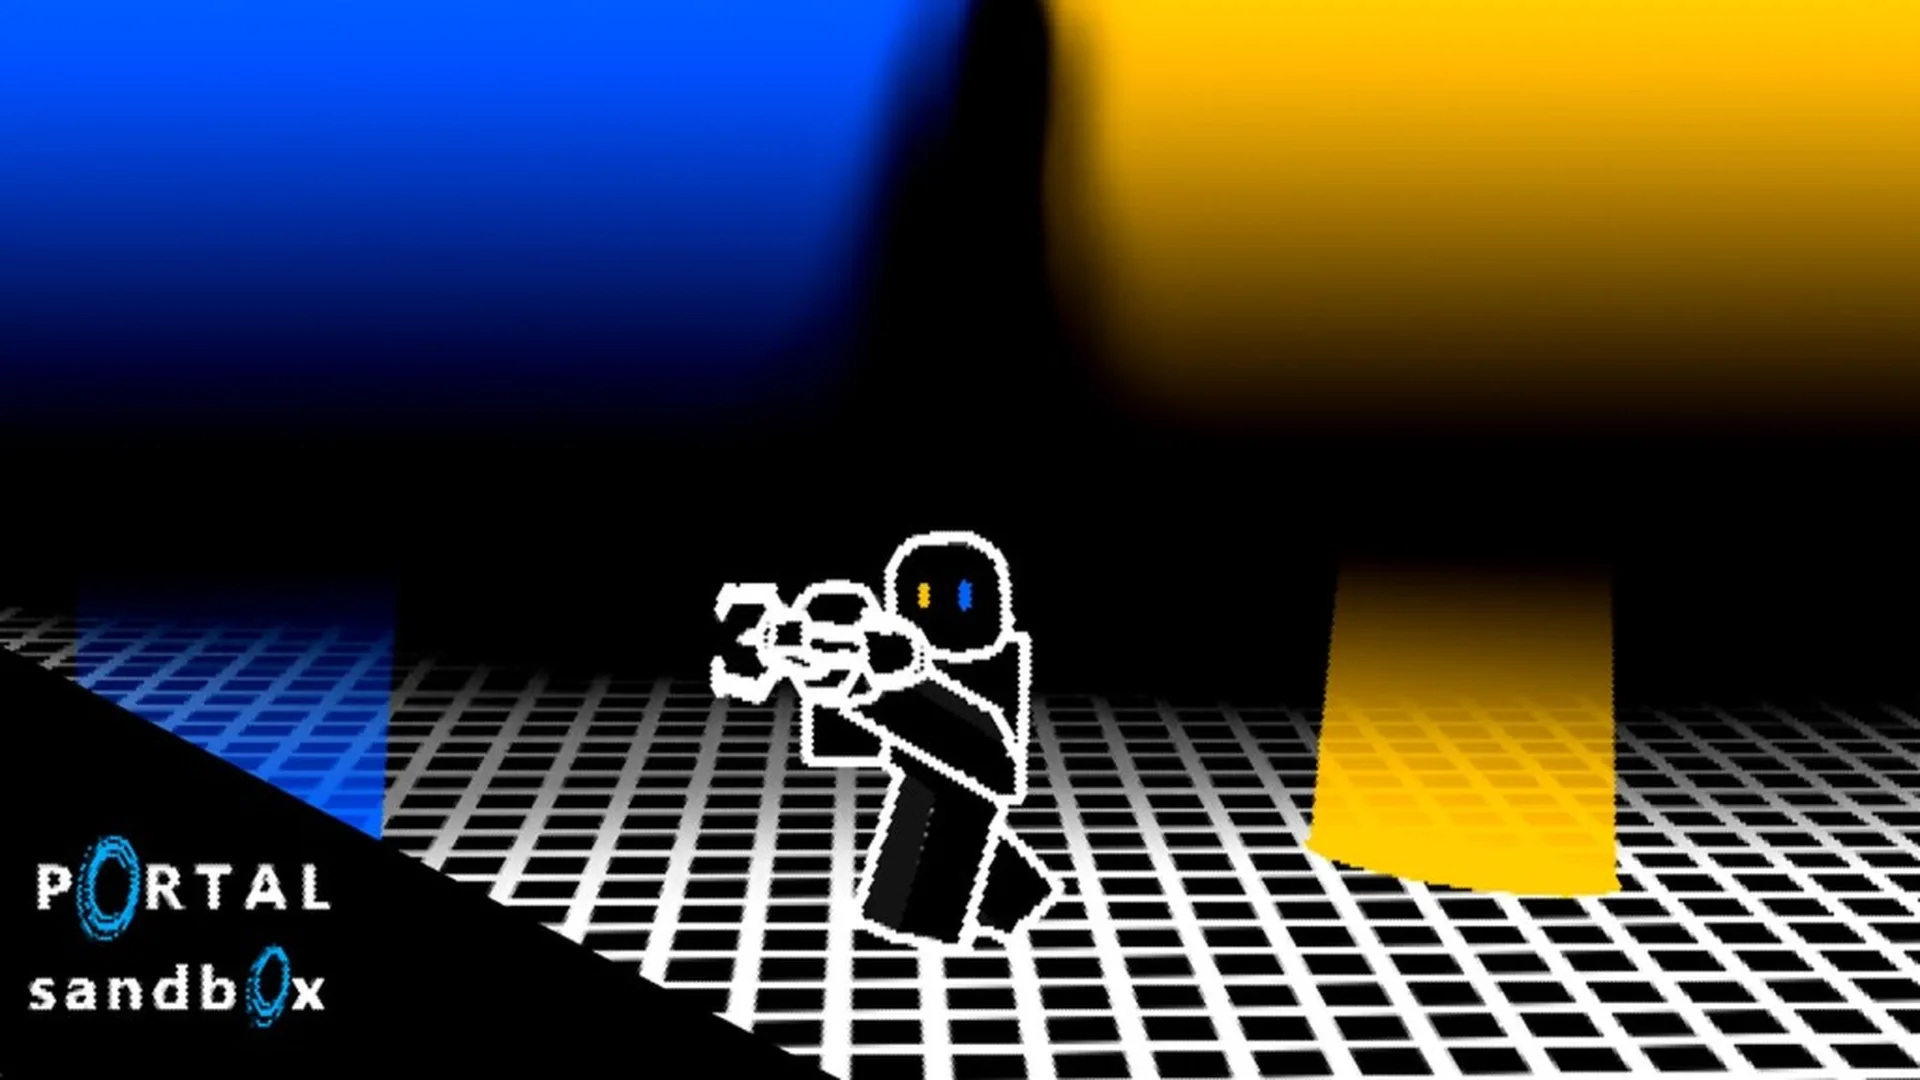
- Portal Sandbox best maps are currently best understood as practical layouts and route setups.
- Flat surfaces make portal placement easier for new players and reduce setup confusion.
- Private servers are useful for repeatable experiments, obstacle courses, and group testing.
- Floor-to-wall routes provide a reliable starting point for movement and traversal practice.
- Map testing works best when you change one portal, height, or angle at a time.
Portal Sandbox Best Maps: What to Look For
Portal Sandbox best maps should be judged by how well an area supports portal placement, movement testing, object routing, and creative construction. The available information does not confirm a stable roster of named maps or a formal map tier list, so this guide ranks map layouts and area qualities rather than inventing location names.
The experience focuses on open-ended sandbox experimentation. That makes a useful area less about a fixed reward path and more about whether it gives you enough space to place portals, observe results, reset a setup, and repeat the same test. A strong practice area should also make mistakes easy to identify.
Start with a nearby floor-and-wall combination. It gives you a clear entry point, a visible exit point, and enough control to understand portal placement before attempting complex builds.
Best Area Qualities
| Area quality | Why it matters | Best use |
|---|---|---|
| Flat floor | Gives stable placement and simple movement | Beginner portal practice |
| Clear wall section | Creates an easy floor-to-wall route | Traversal testing |
| Elevated platform | Adds height and direction changes | Launch and landing experiments |
| Open observation space | Makes movement and object results easier to see | Physics testing |
| Multiple compatible surfaces | Supports alternate routes and loops | Advanced layouts |
A good sandbox area should also have recognizable landmarks. A pillar, platform edge, corner, or other visible feature helps you measure where a portal places you after exiting. Without landmarks, it is harder to compare two portal arrangements.
Layouts Ranked by Practical Value
| Layout type | Rating | Difficulty | Recommended purpose |
|---|---|---|---|
| Floor-to-wall route | 5/5 | Easy | First movement experiment |
| Floor-to-elevated platform | 5/5 | Moderate | Height and landing tests |
| Multi-surface route | 4/5 | Moderate | Alternate traversal paths |
| Object delivery lane | 4/5 | Moderate | Moving objects between areas |
| Looping observation chamber | 3/5 | Advanced | Repeated route and camera testing |
These ratings describe setup value, not official in-game power or map quality. A simple area can be more useful than a visually complex one if it allows consistent testing.
Best Portal Routes for Map Exploration
The most useful map route in Portal Sandbox is usually the one that lets you compare entry position, exit orientation, and travel distance. Begin with a short route, then expand it after you understand the basic connection.
A floor-to-wall setup is the most dependable first route. Place one portal on a nearby floor section and the other on a visible wall. Walk through slowly, observe the exit direction, and then replace only one portal. This creates a clear comparison between the original and modified route.
Use a short route with one obvious starting landmark and one obvious destination. If the result is confusing, reduce the distance and remove extra portals before testing again.
Route Comparison
| Route | Setup | Strength | Common problem |
|---|---|---|---|
| Floor to wall | Nearby floor and vertical wall | Simple to read | Exit angle may change movement |
| Floor to platform | Lower floor and elevated surface | Good for height testing | Landing area may be too small |
| Wall to wall | Two visible wall sections | Useful for direction changes | Harder to judge vertical movement |
| Object lane | Portal near object and destination zone | Supports delivery tests | Object position may vary |
| Route loop | Several connected surfaces | Enables repeated movement | Too many changes become difficult to track |
Map Route Planning Method
Choose a visible starting point
Select a floor, wall, or platform near a recognizable landmark. Avoid beginning in a crowded or visually confusing area.
Place the first portal
Aim at a suitable surface and place the first portal. Keep the position close enough that you can inspect it without losing sight of the surrounding layout.
Create a clear destination
Place the second portal on another compatible surface. Choose a destination with enough open space to observe where movement or an object exits.
Test the route slowly
Walk through the connection and check the exit position, angle, and continuation of movement. Record the result mentally or with a simple written note.
Change one variable
Move one portal, alter the height, or change the approach angle. Test again without rebuilding the entire route.
The one-variable method is especially important for map experiments. Moving both portals at once may create a different result, but it does not show which change caused the difference.
Portal Placement Controls
| Action | Keyboard and mouse | Touch device | Practical note |
|---|---|---|---|
| Aim | Move the mouse and camera | Drag or move the camera view | Keep the target surface centered |
| Place a portal | Use the available portal input | Select the matching on-screen control | Confirm the surface is compatible |
| Enter a portal | Move toward the opening | Use movement controls | Approach slowly during testing |
| Replace a portal | Use the same placement input | Select the portal input again | Replacing one portal saves time |
| Inspect results | Move, rotate, and observe | Adjust camera and movement | Use landmarks for comparison |
Best Map Builds and Sandbox Experiments
Once a basic route works, Portal Sandbox becomes more interesting when you turn the area into a small experiment. Building does not require a large structure. A short obstacle route, object lane, or viewing chamber can provide enough variation for repeated tests.
Do not add several portals, objects, and elevation changes during your first test. A small layout is easier to reset and makes unexpected movement easier to understand.
Traversal Course
Build short floor-to-wall sections with visible checkpoints. Best for practicing movement and route planning.
Object Delivery Lane
Place an object near an entry portal and create a marked destination. Best for observing object transfer and exit position.
Launch Test
Combine a lower entry with an elevated exit and a safe landing area. Best for comparing height and approach speed.
Observation Chamber
Arrange portals around clear viewpoints. Best for studying repeated routes, camera angles, and visual movement.
Build Ideas by Player Goal
| Player goal | Recommended build | Key setup detail |
|---|---|---|
| Learn portal placement | Short floor-to-wall route | Use nearby surfaces |
| Practice movement | Checkpoint course | Mark each destination |
| Test physics | Object delivery lane | Keep the target area open |
| Compare height | Launch and landing test | Leave room after the exit |
| Create a challenge | Multi-stage route | Change one section at a time |
| Play with friends | Cooperative build | Assign each player a testing role |
For cooperative building, one player can place portals while another watches the exit area. A third player can track whether the route remains consistent after changes. This makes private sessions useful for testing creative layouts without unrelated activity interrupting the setup.
Physics Experiment Checklist
Recommended Map Tests:
- Create a simple floor-to-wall route
- Test an elevated exit and observe the landing area
- Move one portal and compare the new route
- Transfer an object through a marked portal lane
- Build a short checkpoint course
Private Servers, Devices, and Map Testing
Private servers are a strong choice when you need a clean testing space. They can support solo experiments, friends-only collaboration, and creative construction. A controlled session also makes it easier to rebuild the same map layout after a failed attempt.
PC is generally the most precise option for complex portal placement because mouse aiming and keyboard movement provide fine control. Console play can work well for comfortable movement, while mobile is suitable for basic exploration and shorter tests. The best device depends on the size and precision of the layout.
Use a private server when you need repeatable results, want to build with friends, or are testing a route that could be disrupted in a public session.
Device Comparison
| Device | Best for | Strengths | Limitations |
|---|---|---|---|
| PC | Detailed experiments | Precise aiming, keyboard movement, larger display | Hardware and connection affect performance |
| Console | Comfortable movement | Controller support and large-screen play | Fine portal aiming may take practice |
| Mobile | Casual testing | Portable access and quick sessions | Smaller screen and touch controls |
| Private server | Repeatable builds | Fewer interruptions and controlled testing | Availability and access should be checked in Roblox |
Before starting a complex map build, confirm that the current experience supports the controls and features you intend to use. Roblox experiences can change, and live availability should be checked on the official Portal Sandbox Roblox page, accessed October 26, 2026.
The official Portal Sandbox server page, accessed October 26, 2026, is the most appropriate place to review available server options. Do not assume that every device or server feature has identical controls.
Map Testing Workflow
| Phase | Main question | Recommended action |
|---|---|---|
| Setup | Can both portals attach? | Use flat, visible surfaces |
| Baseline | What happens on the first pass? | Walk through slowly |
| Variation | What changes the result? | Move one portal |
| Verification | Can the result be repeated? | Rebuild the same setup |
| Expansion | Can the route become a challenge? | Add one new section |
Portal Sandbox Best Maps FAQ
The most important point is that Portal Sandbox is suited to flexible map experimentation rather than a confirmed named-map ranking. Use the area qualities and layouts in this guide to evaluate any current sandbox space you encounter.
Treat every layout as a testable design. The best map is the one that gives you clear surfaces, visible results, enough room to reset, and a useful challenge for your current skill level.
Q: What are the Portal Sandbox best maps right now?
No stable official roster of named maps is confirmed in the available information. The best choices are practical layouts with flat surfaces, open observation space, elevated platforms, and recognizable landmarks.
Q: What is the best beginner map setup?
Start with a short floor-to-wall route. Place one portal nearby on the floor, place the second on a visible wall, and walk through slowly to study the exit position.
Q: Are private servers useful for map testing?
Yes. Private servers can provide a more controlled space for solo experiments, friends-only collaboration, creative construction, and repeatable portal setups.
Q: Which device is best for complex portal maps?
PC is generally the strongest choice for detailed portal placement because mouse aiming and keyboard movement offer more precision. Console and mobile can still work for simpler layouts.