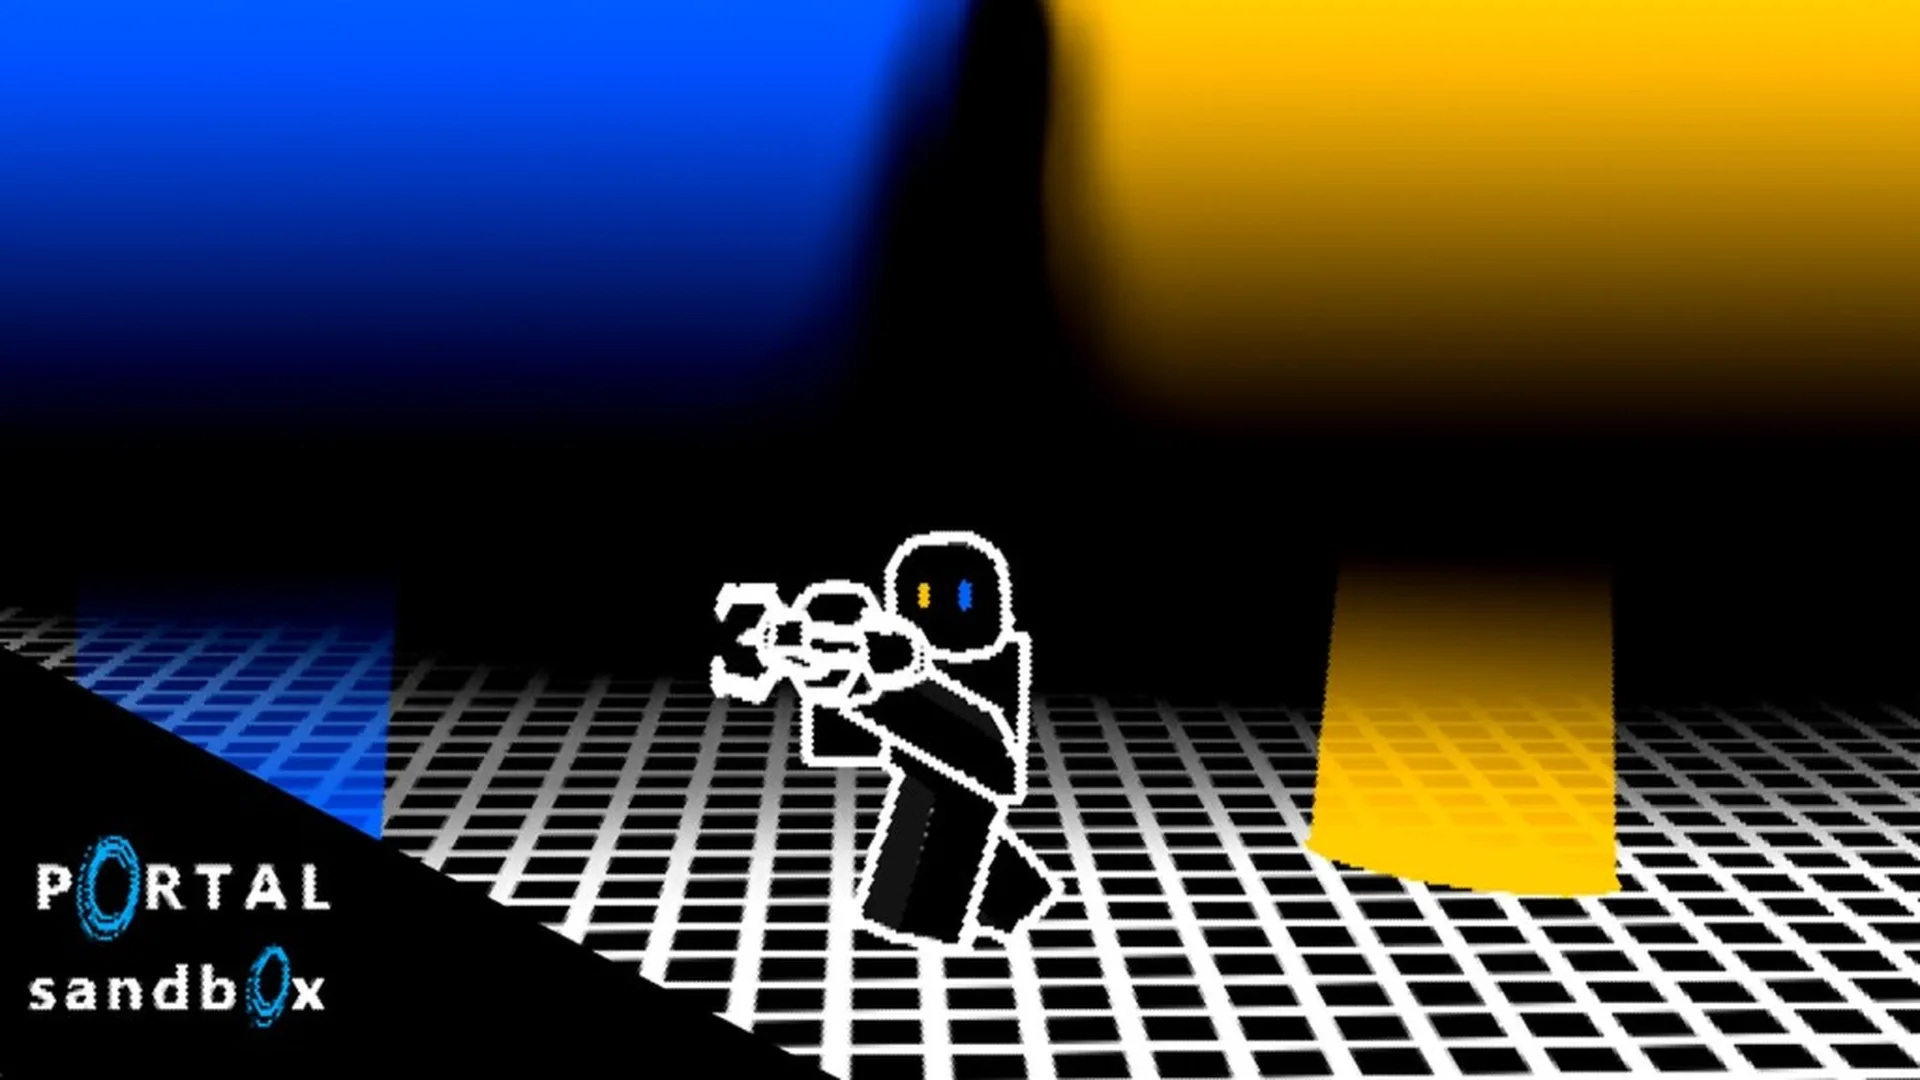
- Portal Sandbox how to play: Start by equipping the portal gun and testing two nearby surfaces.
- Basic loop: Place portals, walk through the connection, observe the result, then adjust one position.
- Best starting setup: Use flat floor or wall surfaces close to your character.
- Core skill: Learn how portal angle, height, and approach direction change movement.
- Practice method: Build small experiments before attempting complex routes or object puzzles.
How to Start Portal Sandbox
Portal Sandbox how to play is easiest to understand through short experiments rather than a fixed campaign route. The experience centers on open-ended portal placement, movement testing, object interaction, and creative building. New players should begin with a simple two-portal connection and expand only after the basic travel loop feels predictable.
Open the Portal Sandbox Roblox experience and give yourself time to inspect the starting area. Look for available tools, nearby flat surfaces, and enough open space to walk through a portal safely. The first goal is not speed; it is learning how the portal gun responds to different surfaces.
Start Small
Use nearby floor and wall surfaces so both portal entrances remain visible and easy to test.
Change One Thing
Move one portal, alter one angle, or change one approach path before comparing results.
Reset Often
Replace an unstable portal layout instead of spending too long trying to repair a confusing setup.
Basic setup priorities:
- Equip the portal gun before attempting placement.
- Aim at a visible, sufficiently flat surface.
- Place the first portal in an easy-to-reach position.
- Place the second portal where the exit can be inspected immediately.
- Walk through the connection slowly and observe the exit direction.
| First objective | Recommended setup | What to observe |
|---|---|---|
| Learn portal travel | Two nearby floor or wall surfaces | Entry and exit locations |
| Test placement | One visible flat surface | Whether the portal attaches correctly |
| Compare movement | Different exit heights | Landing position and direction |
| Practice replacement | One fixed portal, one movable portal | How quickly a route can be changed |
Do not begin with a complicated maze. A short floor-to-wall route gives you clearer feedback and makes portal placement easier to understand.
Portal Gun Controls and Placement
The portal gun is the central tool in Portal Sandbox. Exact input labels can vary by device and may be displayed differently inside the Roblox experience, so follow the on-screen control prompts rather than assuming a universal keybind. The underlying process remains consistent: aim, choose the required portal placement input, confirm the surface, and test the connection.
On keyboard and mouse, precise aiming is usually easier because the cursor can be positioned directly on a target surface. Touch devices provide portable access but may require a closer camera angle for accurate placement. Controller users should make smaller camera adjustments and allow extra time when targeting narrow surfaces.
| Device | Main strength | Common challenge | Best use |
|---|---|---|---|
| PC | Precise aiming and flexible movement input | Performance depends on hardware and settings | Detailed portal layouts |
| Console | Comfortable controller-based movement | Fine portal aiming may take practice | Larger-screen exploration |
| Mobile | Quick access and portable sessions | Smaller screen and touch precision | Basic testing and casual builds |
| All devices | Shared portal-based sandbox loop | Surface compatibility still matters | Learning placement fundamentals |
Aim at a compatible surface
Choose a surface that is visible, reasonably flat, and close enough to inspect. Floor and wall sections are the most reliable starting points because they make the portal orientation easier to read.
Place the first portal
Use the portal placement input shown for your device. After placement, pause briefly and confirm that the portal is attached instead of immediately moving to another target.
Place the second portal
Select another compatible surface with enough room around the exit. Keep the second portal nearby during early practice so the connection is simple to follow.
Enter the connection
Approach the first portal and continue moving through the opening. Pay attention to where you emerge, which direction you face, and whether your movement continues after exiting.
Replace one portal
Move only one portal and repeat the test. This isolates the effect of the new position and helps you understand how the two ends of the route work together.
Irregular or unsuitable surfaces may not support the portal arrangement you want. If placement fails, reposition your aim and choose a clearer surface instead of forcing the same angle.
Movement Experiments and Building Ideas
Once the basic connection works, Portal Sandbox becomes more interesting when you treat every layout as a repeatable experiment. Build a simple route, record what happens, and change one variable. This approach is more reliable than changing several portals at once because you can identify which adjustment affected the result.
The following setups are useful for learning movement, object transfer, and creative construction:
| Experiment | Required setup | Main lesson | Difficulty |
|---|---|---|---|
| Floor-to-wall route | One floor portal and one wall portal | Exit orientation changes travel direction | Easy |
| Elevated exit test | Low entry and higher destination | Height affects the resulting movement | Moderate |
| Object delivery lane | Portal pair and movable object | Objects can be tested through connected routes | Moderate |
| Portal checkpoint course | Several marked destinations | Planned routes improve navigation practice | Moderate |
| Looping observation chamber | Multiple connected viewpoints | Portal placement can create repeating paths | Advanced |
Floor-to-Wall Route
Place one portal on the floor and another on a nearby wall. Compare how the exit direction changes your movement.
Object Delivery Lane
Position a movable object near an entry portal and create a clearly marked destination area for the exit.
Checkpoint Course
Use landmarks to mark several portal destinations, then try to complete the route without changing the original layout.
Launch and Landing Test
Combine a lower entry position with an elevated exit and compare the landing point after different approaches.
A strong building workflow has three stages:
- Foundation: Create one short route with an obvious start and finish.
- Variation: Change the exit height, angle, or distance while leaving the other portal fixed.
- Challenge: Add an object, checkpoint, timing goal, or alternate route.
For useful results, change one variable at a time. Moving both portals, adding several objects, and changing your approach simultaneously makes the outcome harder to analyze.
Private Servers, Practice, and Troubleshooting
Private servers can provide a more controlled space for solo experiments, cooperative testing, and creative construction. They are especially useful when another player might interrupt a carefully arranged route or move an object during a physics test. Check the Portal Sandbox private server page for current availability and access details.
A private session is not required for learning the basics, but it can make repeated testing more consistent. Invite selected friends when you want to compare solutions, coordinate a portal route, or build a small obstacle course together.
| Situation | Recommended response | Why it helps |
|---|---|---|
| Portal will not place | Aim at a clearer, flatter surface | Reduces surface compatibility problems |
| Exit is difficult to inspect | Move the destination closer | Makes the route easier to read |
| Movement feels inconsistent | Repeat with the same approach | Separates placement effects from input changes |
| Object route fails | Mark the entry and destination areas | Makes transfer results easier to compare |
| Public session is disruptive | Use a private server if available | Protects repeatable setups |
| Complex scene performs poorly | Reduce objects or visual effects | Lowers the scene load on the device |
Use these troubleshooting habits before rebuilding everything:
- Confirm that the portal is actually attached to the target surface.
- Check whether the exit has enough room for the player or object.
- Keep the camera close when placing portals on mobile.
- Replace only the portal causing the problem.
- Test the route without extra objects before adding more complexity.
- Rejoin or reset the session if the scene no longer behaves consistently.
First Session Checklist:
- Equip the portal gun
- Place two portals on clear surfaces
- Walk through the connection
- Replace one portal and compare the route
- Test one object or movement experiment
Use a private or quiet session for experiments that require several attempts. A stable setup makes it easier to compare portal positions and movement results.
Beginner Progression and FAQ
A good Portal Sandbox learning path moves from simple travel to controlled experimentation, then to creative construction. There is no need to rush into large layouts. Your progress is measured by how clearly you can predict the result of a portal change.
| Learning stage | Goal | Suggested activity |
|---|---|---|
| Stage 1 | Understand placement | Connect two nearby surfaces |
| Stage 2 | Read movement | Compare floor, wall, and elevated exits |
| Stage 3 | Control routes | Replace one portal while keeping the other fixed |
| Stage 4 | Use objects | Test transfer and destination positioning |
| Stage 5 | Build challenges | Create checkpoints, courses, or looping layouts |
Before ending a session, review the setup and note which arrangements worked best. Remember the surface type, portal height, approach direction, and exit orientation. These observations become useful when you create more complex routes later.
Q: How do I play Portal Sandbox for the first time?
Enter the Roblox experience, equip the portal gun, place two portals on clear compatible surfaces, and walk through the connection. Start with nearby floor or wall surfaces before testing elevated routes or objects.
Q: What should I do if a portal will not place?
Move your aim to a flatter, more visible surface and check the on-screen placement feedback. Some irregular or unsuitable surfaces may not support the layout you want.
Q: Which device is best for Portal Sandbox?
PC is generally the most comfortable choice for precise portal placement and detailed experiments. Console and mobile can also work, but controller or touch input may require additional practice.
Q: Can I use private servers for Portal Sandbox experiments?
If a private server is available, it can provide a quieter space for solo testing, friend collaboration, object experiments, and creative construction. Check the Roblox server page for current access details.
The most effective way to learn Portal Sandbox is to build a small route, test it carefully, and adjust one portal or movement variable at a time.